Doka Estate, Costa Rica
Before the tour, we had a lovely lunch buffet on the veranda, overlooking the beautiful garden.
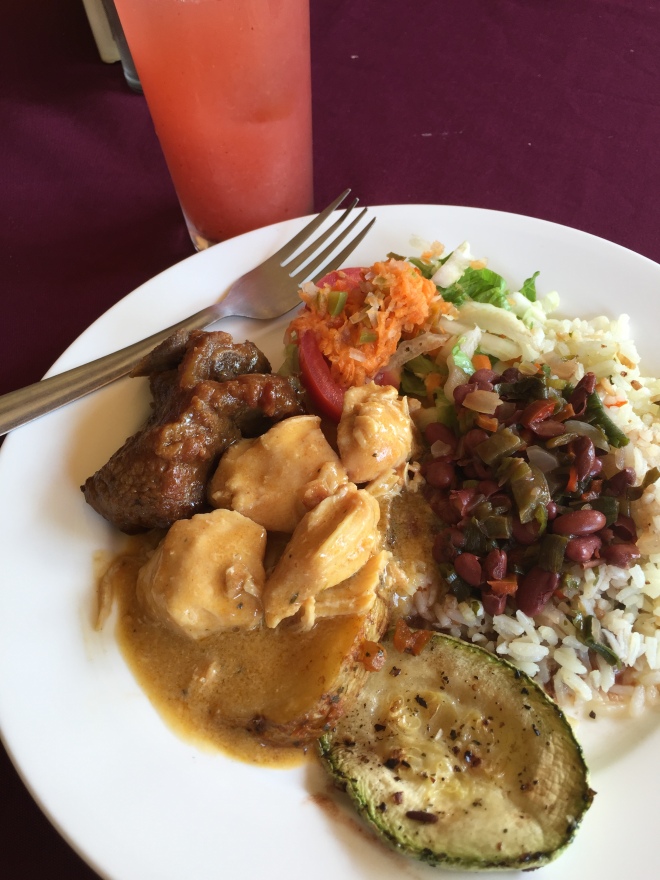
Lunch at Doka Estate – Chicken in curry, beef ribs, rice and red beans sauce, salad, veggies.
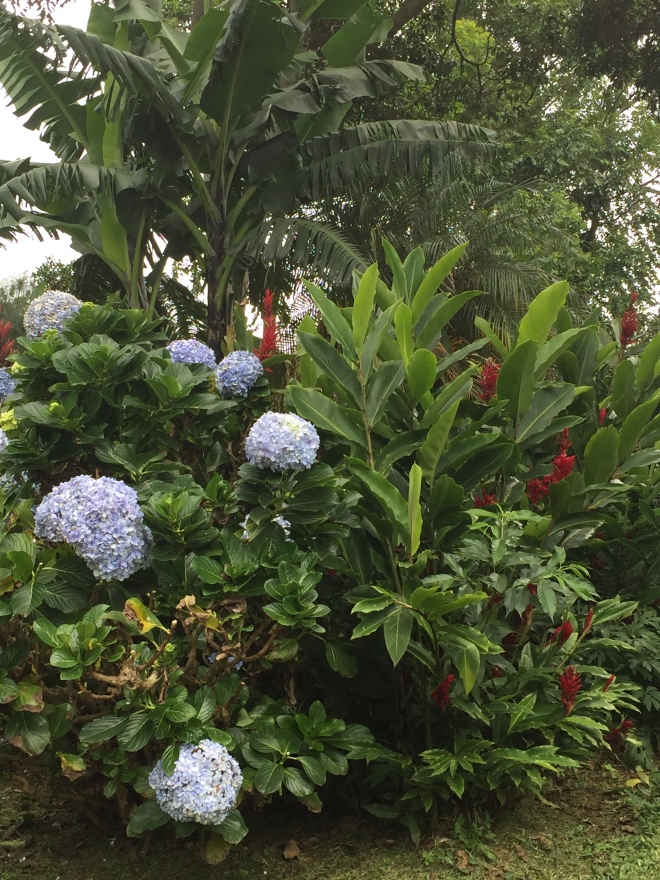
The lush garden at Doka Estate
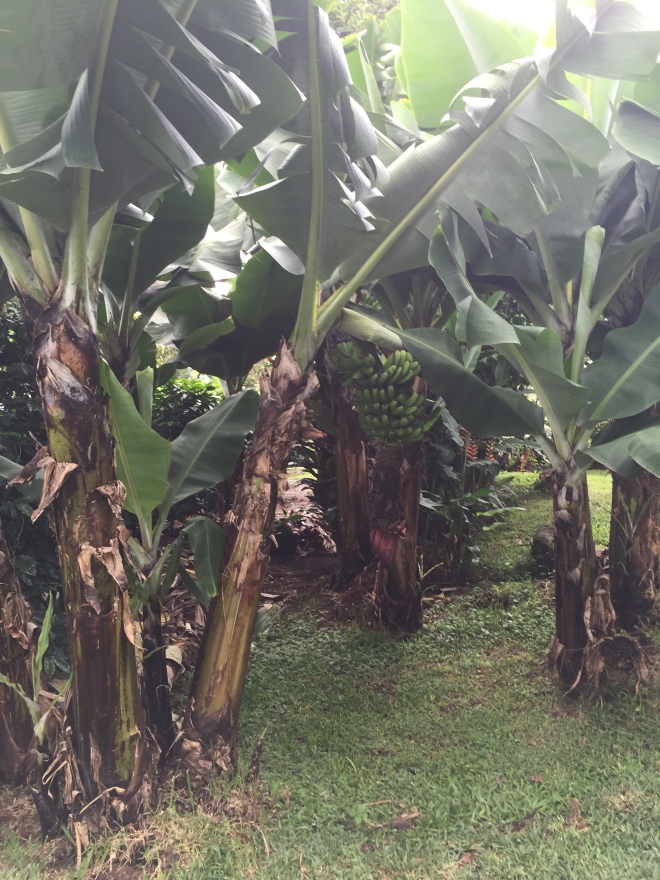
Banana trees to distract insects from eating the coffee beans
Do you ever wonder why coffee is so expensive? Well, after I recently visited a coffee plantation called Doka Estate, in
Costa Rica, I can totally understand why the prices are so high. It’s a long process to get from the coffee bean to the cup. I will share with you my experience, and what I learned from the tour guide. It starts out with the coffee beans from the berries, that are planted, and grown in different stages. Eventually, they are transplanted in the coffee fields, where they take about 3 years to produce the berries. The trees can live up to 100 years, however, after 25 years, the quality starts to deteriorate. The plant is called Coffea, and originated in Africa. It produces fragrant white flowers which turn into green berries. When the berries are ripe, they turn red, and are ready to be picked by hand. They don’t all ripen at the same time, and that makes the process more tedious. This particular plantation has about 200 pickers, and they use what is called a canasto, a basket to collect the berries. (It looks like a laundry basket) The pickers collect up to 20 baskets a day each. Inside the berries are two coffee beans, but once in a great while, some will have just one bean, and it’s called the peaberry.
The tour begins in the seedbed, where the tour guide explains the development process of the plant, the collection of the ripe berries, the classification, the fermentation, the drying, the peeling and the roasting process.
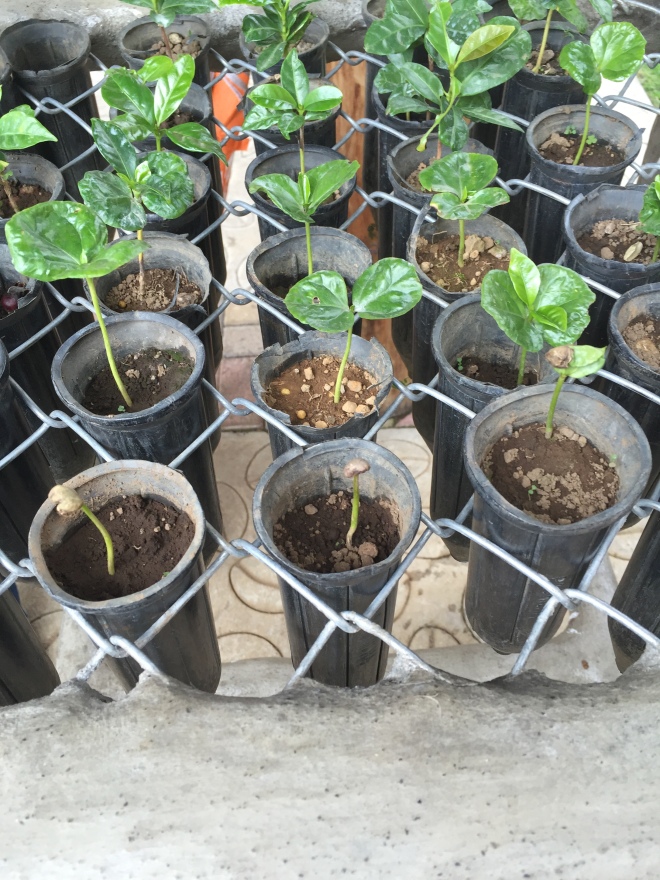
Coffee seedbed
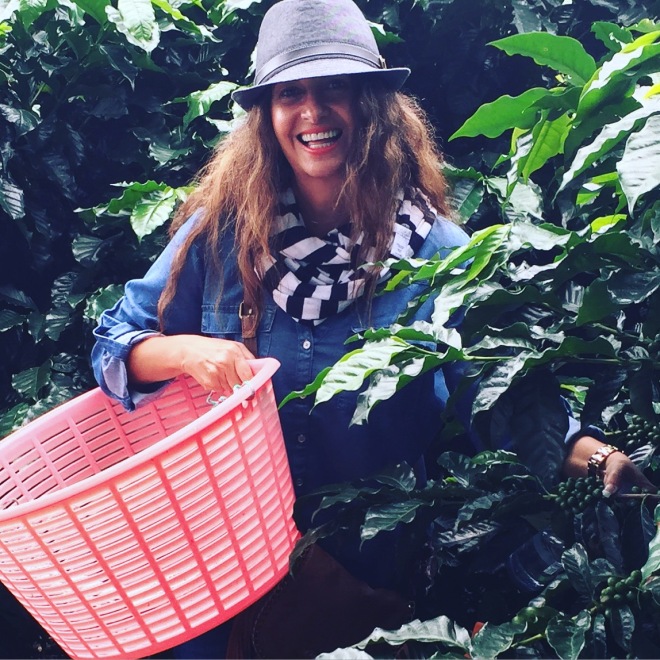
That’s me, picking coffee beans off the plant using a canasto
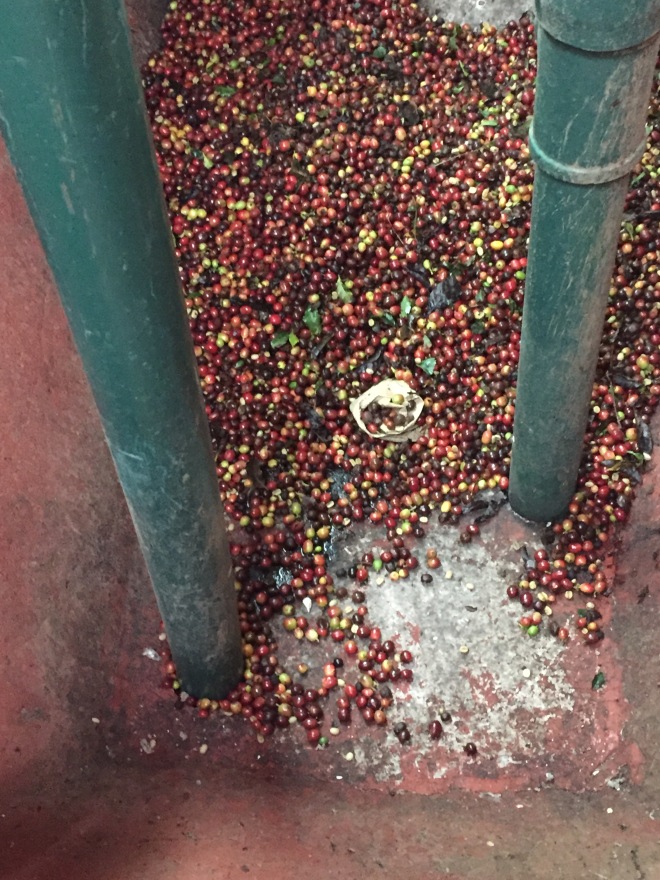
Machine collecting coffee to classify them
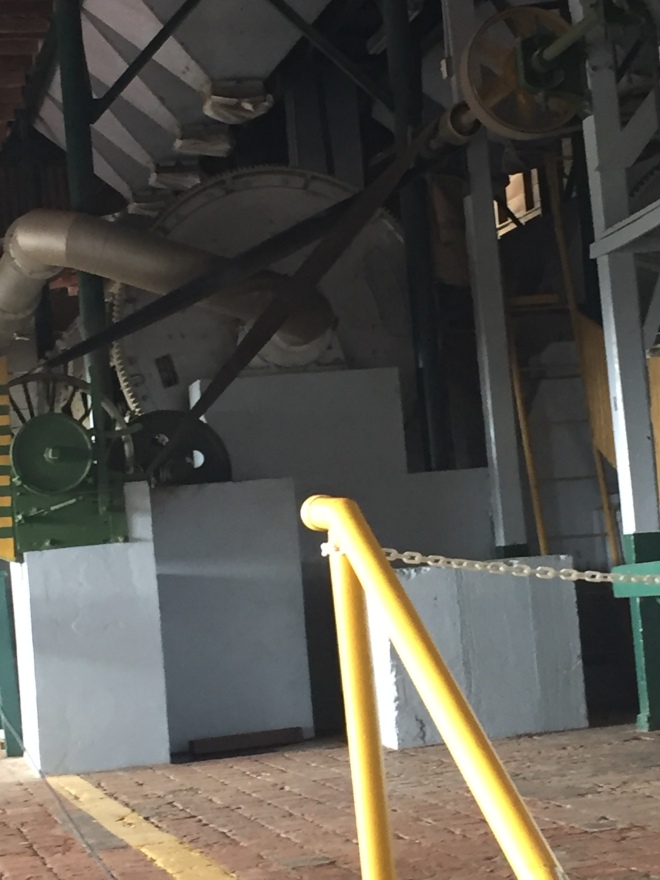
The second station is the oldest humid coffee processing plant in the country that works by hydraulic power. The grains are classified, and the best ones are heavy, and stay on the bottom. Afterwards, the process of de-pulping of first and second quality coffee takes place in the grinders.
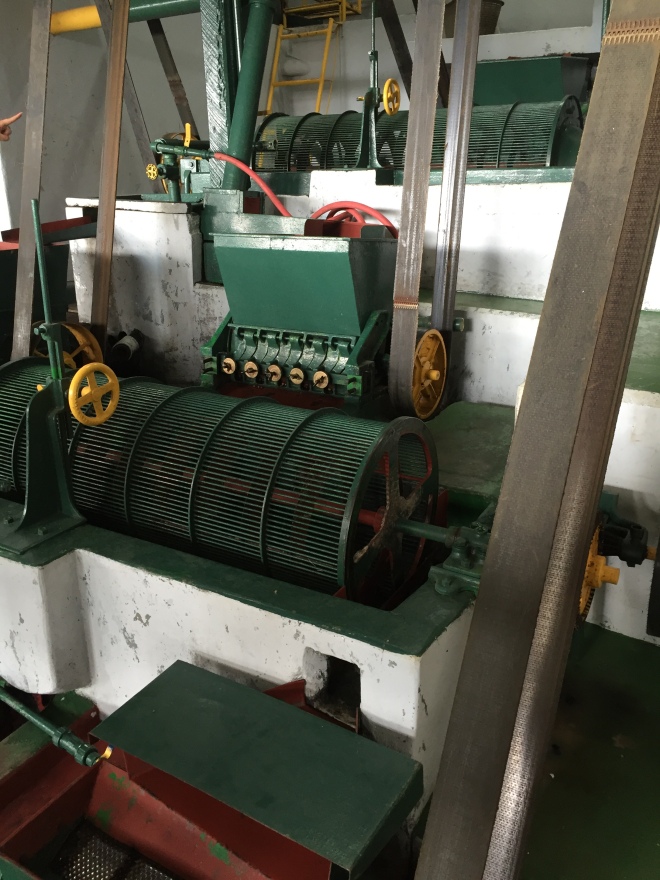
Sorting the coffee
Next, the natural honey of the grain is cut in the fermentation tanks. This process is vital, and significant to the taste of the coffee. The coffee is dried on the patios under the sun. During rainy seasons, they use a drying machine, but they prefer the natural method.
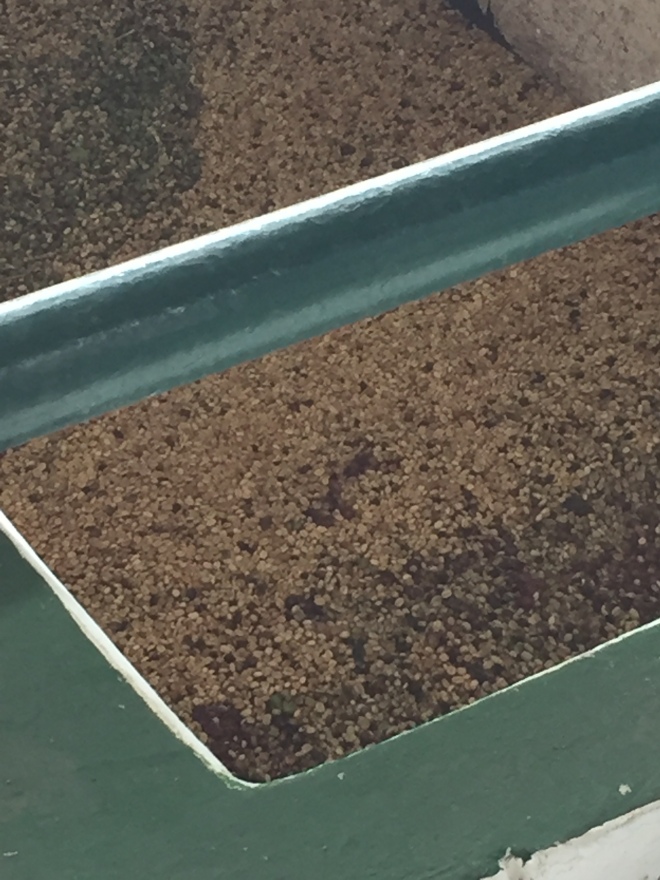
Coffee fermentation tanks
Coffee drying machine
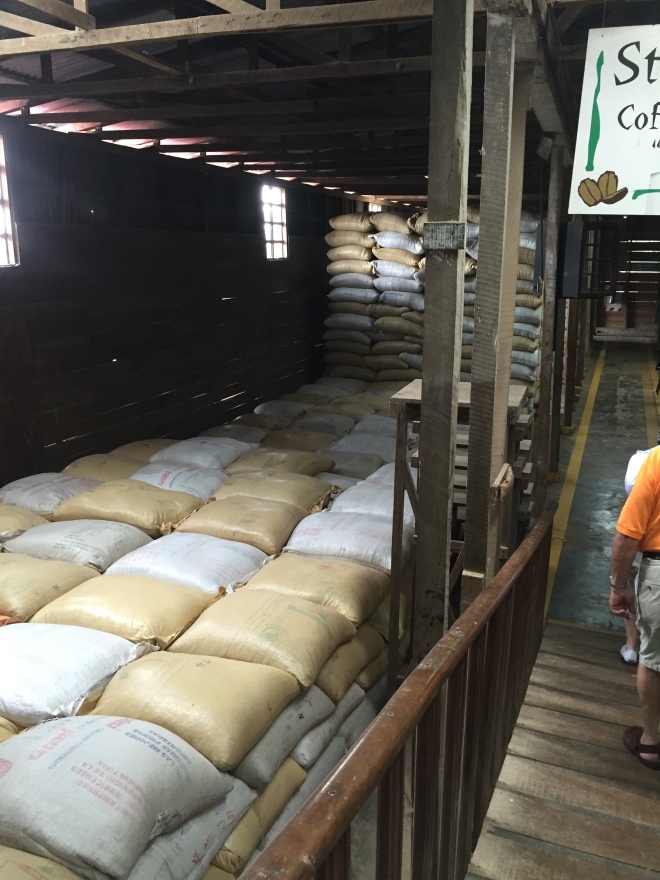
Dried coffee is stored for 3 months
Afterwards, the coffee beans are stored in the warehouse for three months in their parchment, the outer layer of the coffee beans.
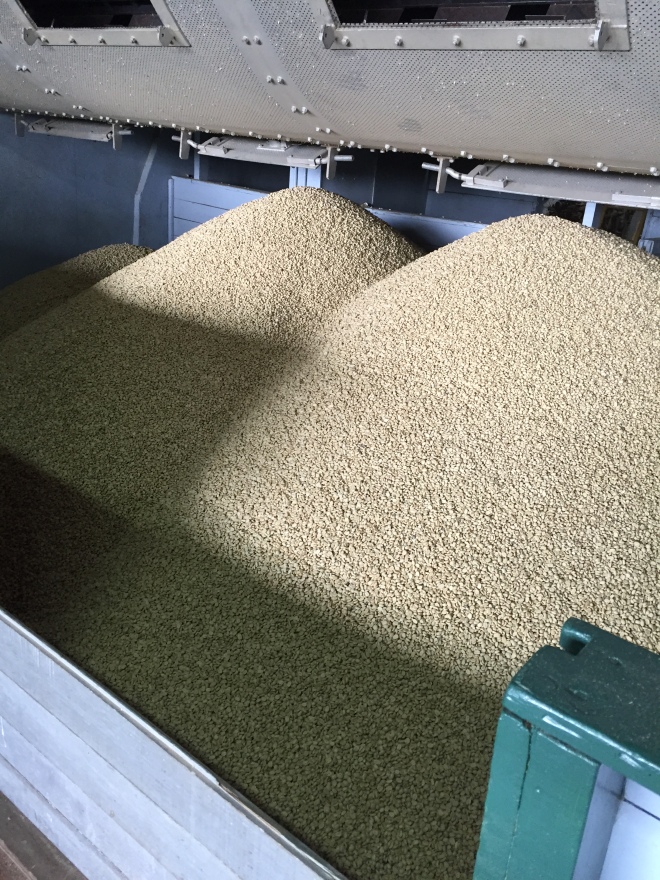
Coffee after it’s dried
At this point, the coffee still has no fragrance, but they are ready to be peeled, and then exported or roasted in the country. The parchment is used to make paper.
A very small portion is used to make decaffeinated coffee. They get shipped to Germany to remove the caffeine from the coffee beans. They do not have the machines in Costa Rica because most people drink regular coffee, and the machinery is quite expensive. Why Germany, you might ask? It’s simple, they have the engineering, and they use water only without any chemicals in this process. They don’t charge Doka Estate for this service. Germany sells the caffeine that has been removed from the coffee beans to large companies such as Coca Cola, Red Bull, etc., that’s how they profit from this service.
Finally, the roasting plant is visited, and we observe the different types of roasts: Italian Espresso is roasted for 20 minutes, Peaberry is roasted for 18 minutes, and French Roast is roasted for 15 minutes. The longer it is roasted, the more intense the flavor. This explains why the espresso is the strongest.
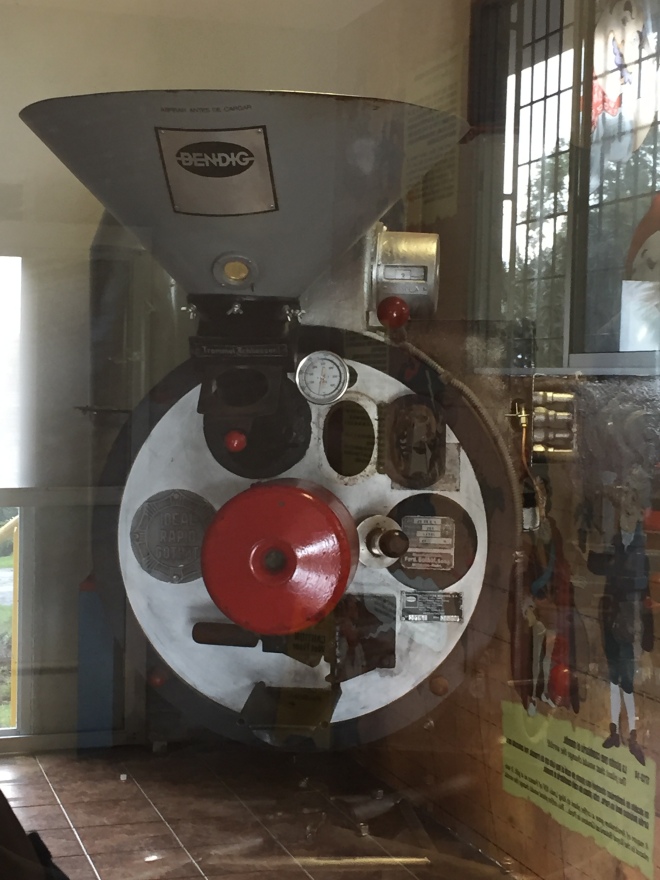
Coffee roasting machine
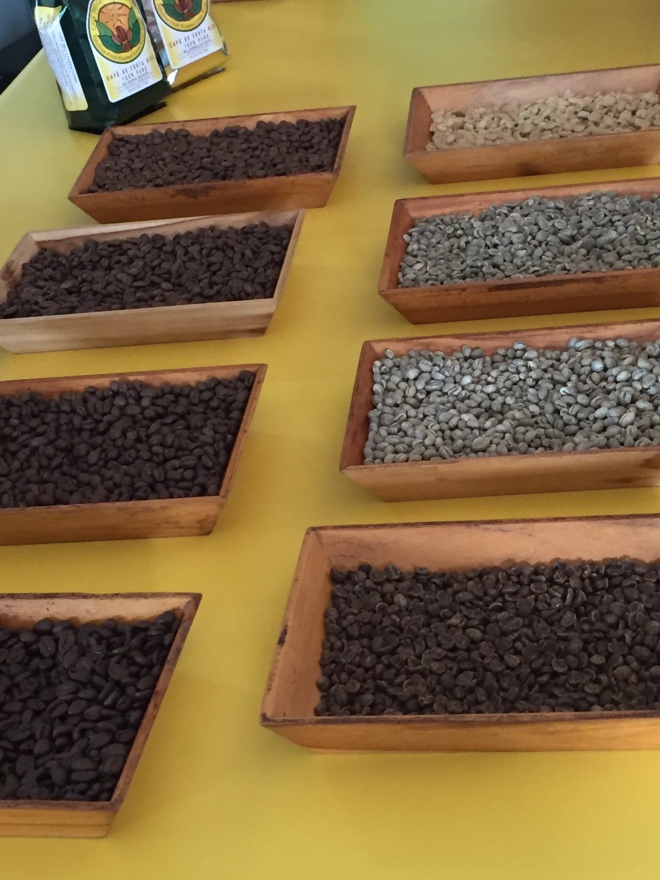
Different types of roasted coffee
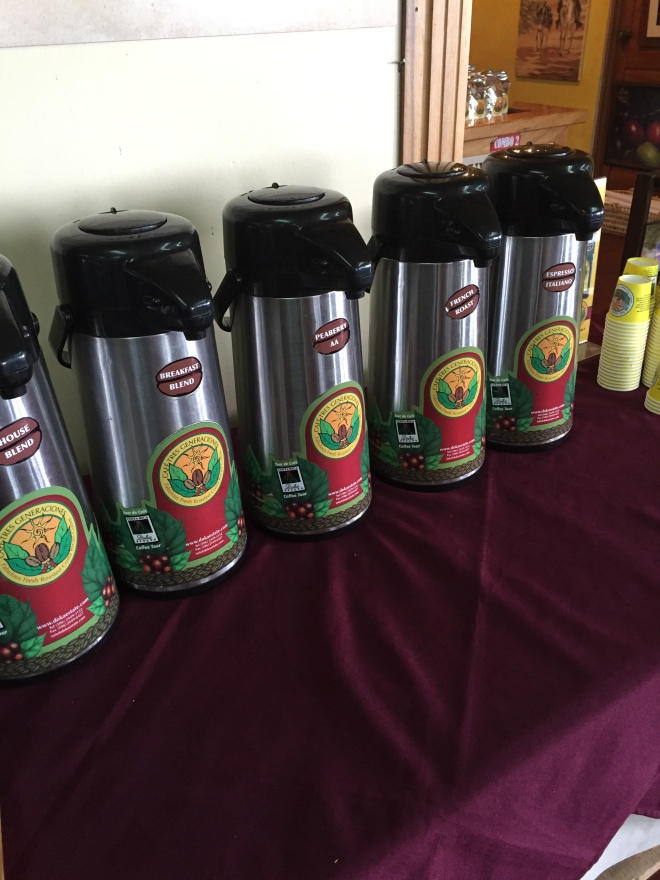
Coffee tasting
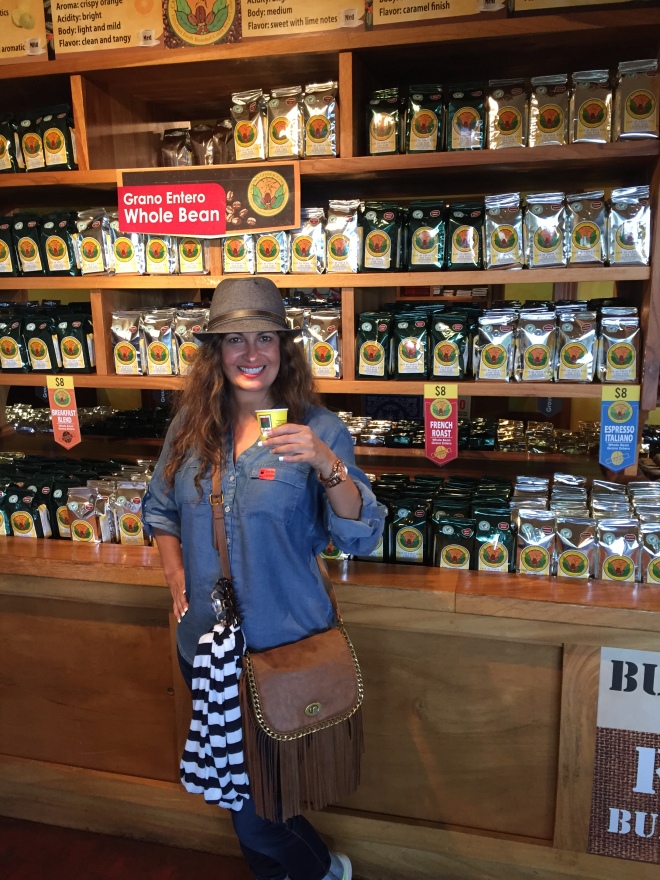
Coffee sampling
“Doka Estate coffee is one of Costa Rica’s highest quality coffees. The Doka Coffee Estate is located on the fertile slopes of the Alajuela Poas Volcano, the rich soil and the ideal altitude and climate have made the Santa Eduviges farm famous because of its excellent coffee.
The Vargas coffee growing family also carry a brand – Cafe Tres Generaciones – ‘Three Generations Coffee’ that conveys the great care and pride that this coffee growing family have placed in their coffee trees.”
Pictures: by Foodiewinelover – taken with my iPhone 6
Source: Information was obtained from the tour guide Adriana, my observations, and Doka Estate website.
I hope you have enjoyed, and learned some interesting facts about my journey through the coffee-making process.
Happy Coffee Sipping!
Gina, Foodiewinelover
Foodiewinelover
10.391583
-84.438272

 I wasn’t planning on making anything today, but I decided at the last-minute to share with you my simple and very delicious guacamole. It’s just in time for the Super Bowl, and it takes less than 15 minutes to prepare. Guacamole is a very popular dip made with avocados, and is a major crowd pleaser, especially on Game Day!
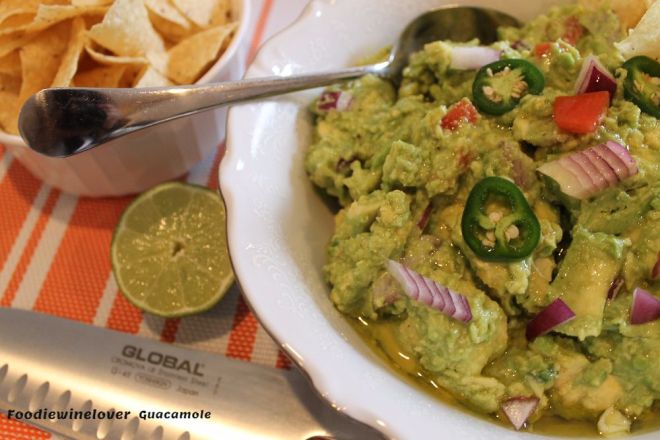


 I hope you will try this refreshing salad, and share your experience with us.


Recent comments