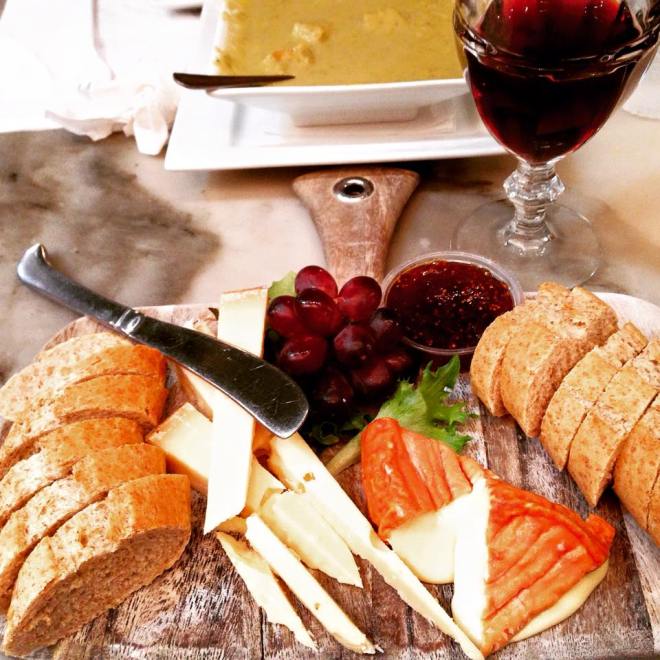
Hello everyone! This is probably my longest blog post to date, because it is my favorite, and most passionate subject, Food & Wine. This explains my blog name, Foodiewinelover. I have put together a compilation of my dining and wining experience on Heavenly Cheeses, Food & Wine Pairings. Please do not forget to read the descriptions on all my photos. Cheeses are among my favorite food groups, and when I’m entertaining, I love pairing them with delicious wines. There is an abundance of cheeses, and wines from all corners of the world, but unfortunately, there aren’t enough time to mention all of them. Ideally, I love pairing cheese with the wine from the same region, or country, especially when I’m having a themed party. However, there are no set rules about it, and, you can mix and match food and wines from different countries, as you please. There are hard, soft, and semi-soft cheeses. One of my favorite cheeses is Parmigiano-Reggiano, an Italian Parmesan cheese, aged 36 months, that I brought back with me from Italy. To me it’s considered the king of Italian cheeses, and has a lovely nuttiness to it. According to Giada de Laurentiis, a famous Italian Chef, it’s best if you pick it with a knife, to get into all the nook and crannies, for optimal flavors. In general, white wine is ideal to pair with cheeses because of their higher acidity content, and boost up the layers of flavors of cheeses. However, If you are not a big fan of whites, don’t fret, red wines also make a nice pairing. Ultimately, you decide what works well with your palate. I am also sharing with you some delectable food that goes with some interesting wines. Here are a few suggestions to impress your friends at your next gathering.

Sexy, seductive, full-bodied, Super Tuscan, Italian wine, blend of Cabernet and Merlot – 2012 Tenuta SanGuido – Guidalberto . The color is a scintillating cherry-red. At first, floral aromas and dark cherries on the nose, then, when I swirl it, the earthiness comes out. I smell barnyard and chocolate. I swoosh it in my mouth, I get hints of tobacco, chocolate, leather, and all the flavor profile I desire in a wine. The finish is succulent and lingering. This wine pairs heavenly with Parmigiano Reggiano.

Great cheese and wine pairings: Pulenta Cab from Argentina, Robert Mondavi, Emblem California Cab, & a platter of barrel aged Feta, Ginger and Mango Stilton, Pecorino Romano cheese.
Wine & Cheese for Dinner! Époisses, the stinkiest cheese ever. Lol! Prima Donna, a blend of Parmigiano Reggiano and Gouda, paired with La Crema, Pinot Noir. If you prefer white, you can pair with an Albarino, or a nice Chablis, (Chardonnay from Burgundy)

Manchego cheese paired magically with Miguel Torres Celeste Crianza, from the Ribera del Duero region of Spain. A beautiful pairing of cheese and wine from the same country.

Girls Night Out! Malbec paired with scrumptious Comte, Idiazabal and Ossau Iraty cheeses. 🍷🍷🍷

Merlot and Humboldt Fog cheese….Pinot Noir would have been a nice choice as well

Le Delice De Bourgogne cheese paired with a fantastic Brunello. If you are into white wines, another suggestion for this cheese is an oaky Chardonnay
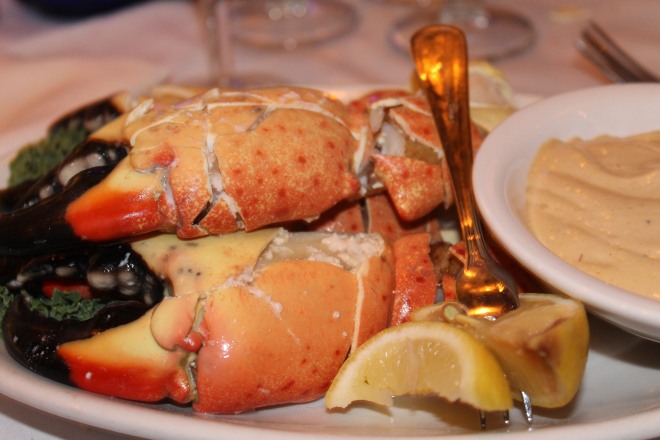
Stonecrabs paired with Champagne for my birthday in 2014

When in doubt, bubblies go with almost everything
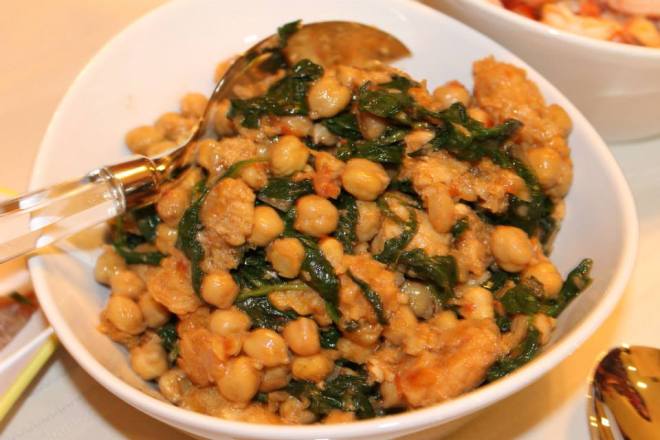
Spinach and Garbanzos, paired with a lovely white Rioja
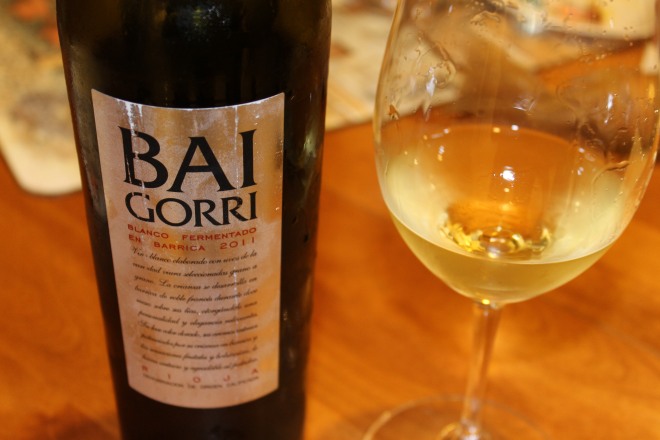
Bai Gorri Rioja, An elegant white wine, well-balanced with intense flavors of oak, paired heavenly with an assortment of Spanish dishes, Shrimp with Garlic, Spinach with Garbanzo beans, Paella, and Manchego cheese. This was at our Spanish-themed wine party.
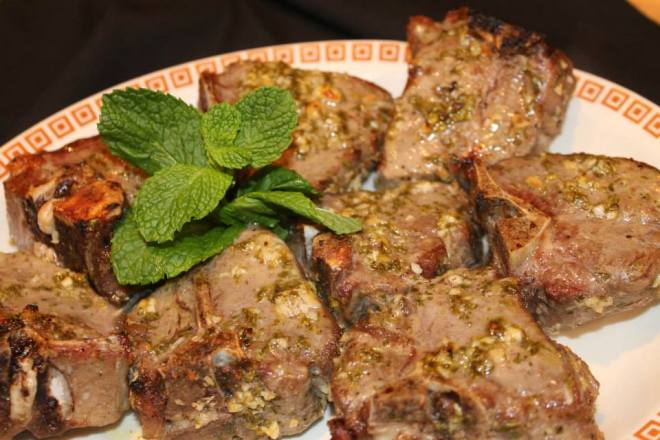
Lamb Loin Chops pair beautifully with Chateau-Neuf-du-Pape or a nice red Bordeaux

Paella pairs deliciously with a nice Rose’
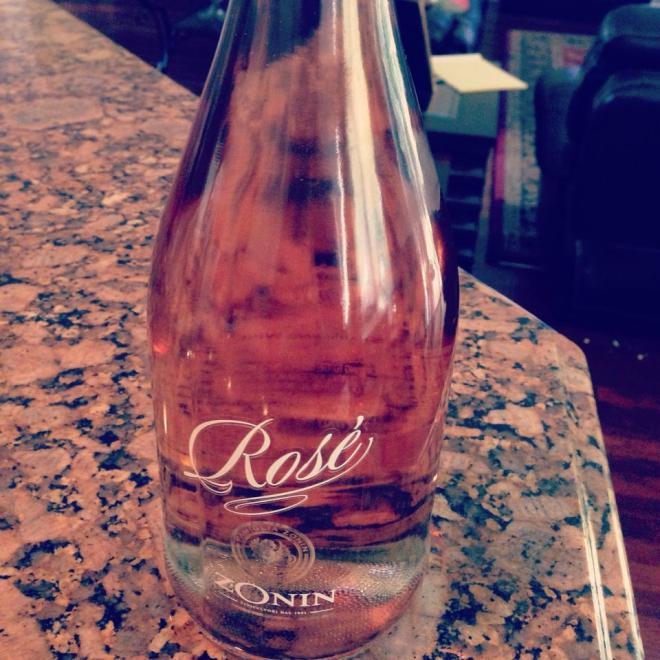
Rose’

Beets and Goat Cheese pair lusciously with a crisp Sauvignon Blanc

Gouda and Epoisses cheeses, caramelized walnuts and fig spread, paired exquisitely with Chateau Lyonnat, a Merlot from the Bordeaux region. Delicieux!

Veal Bolognese over Pappardelle, paired nicely with a Rosso di Montalcino

Aged Porterhouse for two paired scrumptiously with a Super Tuscan
If you are a salmon lover, pick a lush Pinot Noir from Oregon, or one from the Russian River Valley, Sonoma county, California. They both would make great choices. For any white fish, select a crisp white wine, if you want to get fancy, try a delightful Sancerre, (Sauvignon Blanc) from the Loire Valley. If you are on a budget, stick to a nice chilled chardonnay. Spicy food pair well with an off-dry Riesling, Viognier or Gewurztraminer. Pungent cheeses such as Gorgonzola, or Blue Cheese stand up to dessert wines, port or cognac. Sauternes, a French dessert wine, with notes of apricots, is a nice complement to Roquefort cheese and Foie Gras. Let’s not forget about Ricotta cheese which is used in savory dishes such as stuffed shells. They make a great pairing with a nice Chianti, Rosso di Montalcino, or any medium-bodied Italian reds. Ricotta cheese is also used as a scrumptious filling in cannolis, and goes well with a Moscato d’Asti, a lovely dessert wine from the Piedmont region of Italy. If you are looking for a match made in heaven, my friend, fellow-sommelier, Certified Italian Wine Specialist, Angela, from Constant Wining suggests pairing a cantuccini, an Italian biscotti, with Vin Santo. We had it at one of our Italian-themed wine party, and it was a major hit, and a fantastic way to end a superb evening with fun friends. Mascarpone, is an italian sweet cheese, and one of the main ingredients in the delectable dessert Tiramisu. It can be paired with either the Vin Santo, or the Moscato d’Asti.
I am posting links to some of the cheeses that I feature in this blogpost, so you can learn more about their process, origin, and history.
Parmigiano Reggiano and Pecorino Romano, two Italian giants, are excellent grating cheeses for pasta dishes. Gorgonzola, Blue Stilton, Roquefort, are considered some of the world’s most famous Bleu Cheeses. Feta Cheese is one of the most famous Greek cheeses. Humboldt Fog, is a goat milk and pungent in flavors. Epoisses is a pungent cows-milk cheese. Delice de Bourgogne, is a French cow’s milk cheese. Manchego is a sheep’s milk from Spain. Comté is a cow’s milk from France. Ossau Iraty is a sheep’s cheese from France. Idiazabal is a sheep’s milk from Spain.
I hope you have enjoyed some of my food and wine suggestions, and in closing, I would love to share some fun quotes with you.
“All four elements were happening in equal measure – the cuisine, the wine, the service, and the overall ambience. It taught me that dining could happen at a spiritual level.” Charlie Trotter
“Wine to me is passion. It’s family and friends. It’s warmth of heart and generosity of spirit. Wine is art. It’s culture. It’s the essence of civilization and the art of living.” Robert Mondavi
Most importantly, I enjoy sharing food & wine with close friends, and family. It elevates the experience to another level.
Disclosure: All the pictures in this blog post are my own, and were taken either with my iPhone or my Canon Rebel T3 camera. They were shot at various restaurants, a friend’s house, and my home.
Cheers to good health and a well-lived life!
Gina, aka, FoodieWineLover


Recent comments