
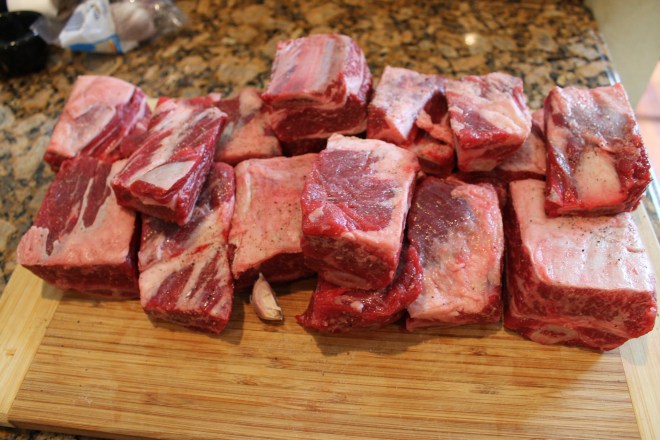
Beef Short Ribs

Beef Short Ribs braised in Red Wine

Beef Short Ribs braised in Red Wine over Polenta

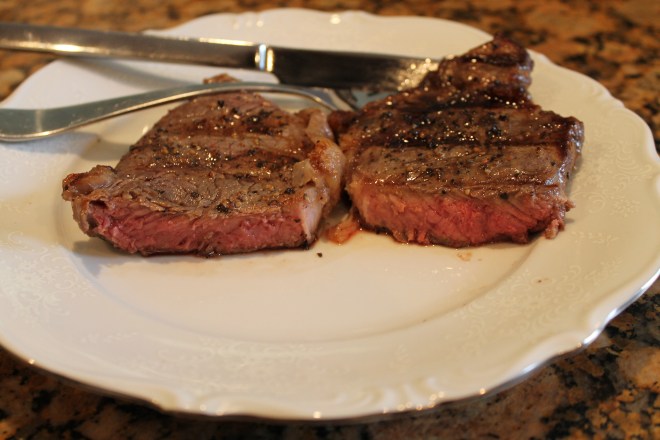
Enjoying some short ribs
![]()

After a long absence, I needed to get back in the kitchen and prepare some home cooked meals. My son PJ suggested that I make Gordon Ramsey’s short ribs. It was a collaborative effort with him and the result was a Grand Slam. Of course, he thought he was Gordon Ramsey and acted like him, but, I had to take control in Gina’s Kitchen. Let’s just say, we were each other’s sous chef! I was feeding 6 hungry people and I came up with the following measurements. This recipe can easily be divided in half for a smaller crowd.
Serves: 6-8 Level of difficulty: Easy-Medium
Time: Allow a minimum of 3 hours from start to finish
Ingredients:
- 8 lbs. beef short ribs
- Olive oil as needed for searing the ribs
- Salt and pepper to taste
- 5 oz. of tomato paste
- 2 heads of garlic, cut in halves (unpeeled)
- 1 bottle of red wine, Chianti, Pinot Noir or Cabernet
- 28 oz. of beef broth low-sodium
- Italian parsley for garnish, optionalSide dish:
1 cup Polenta for 4 cups of water, salt to taste
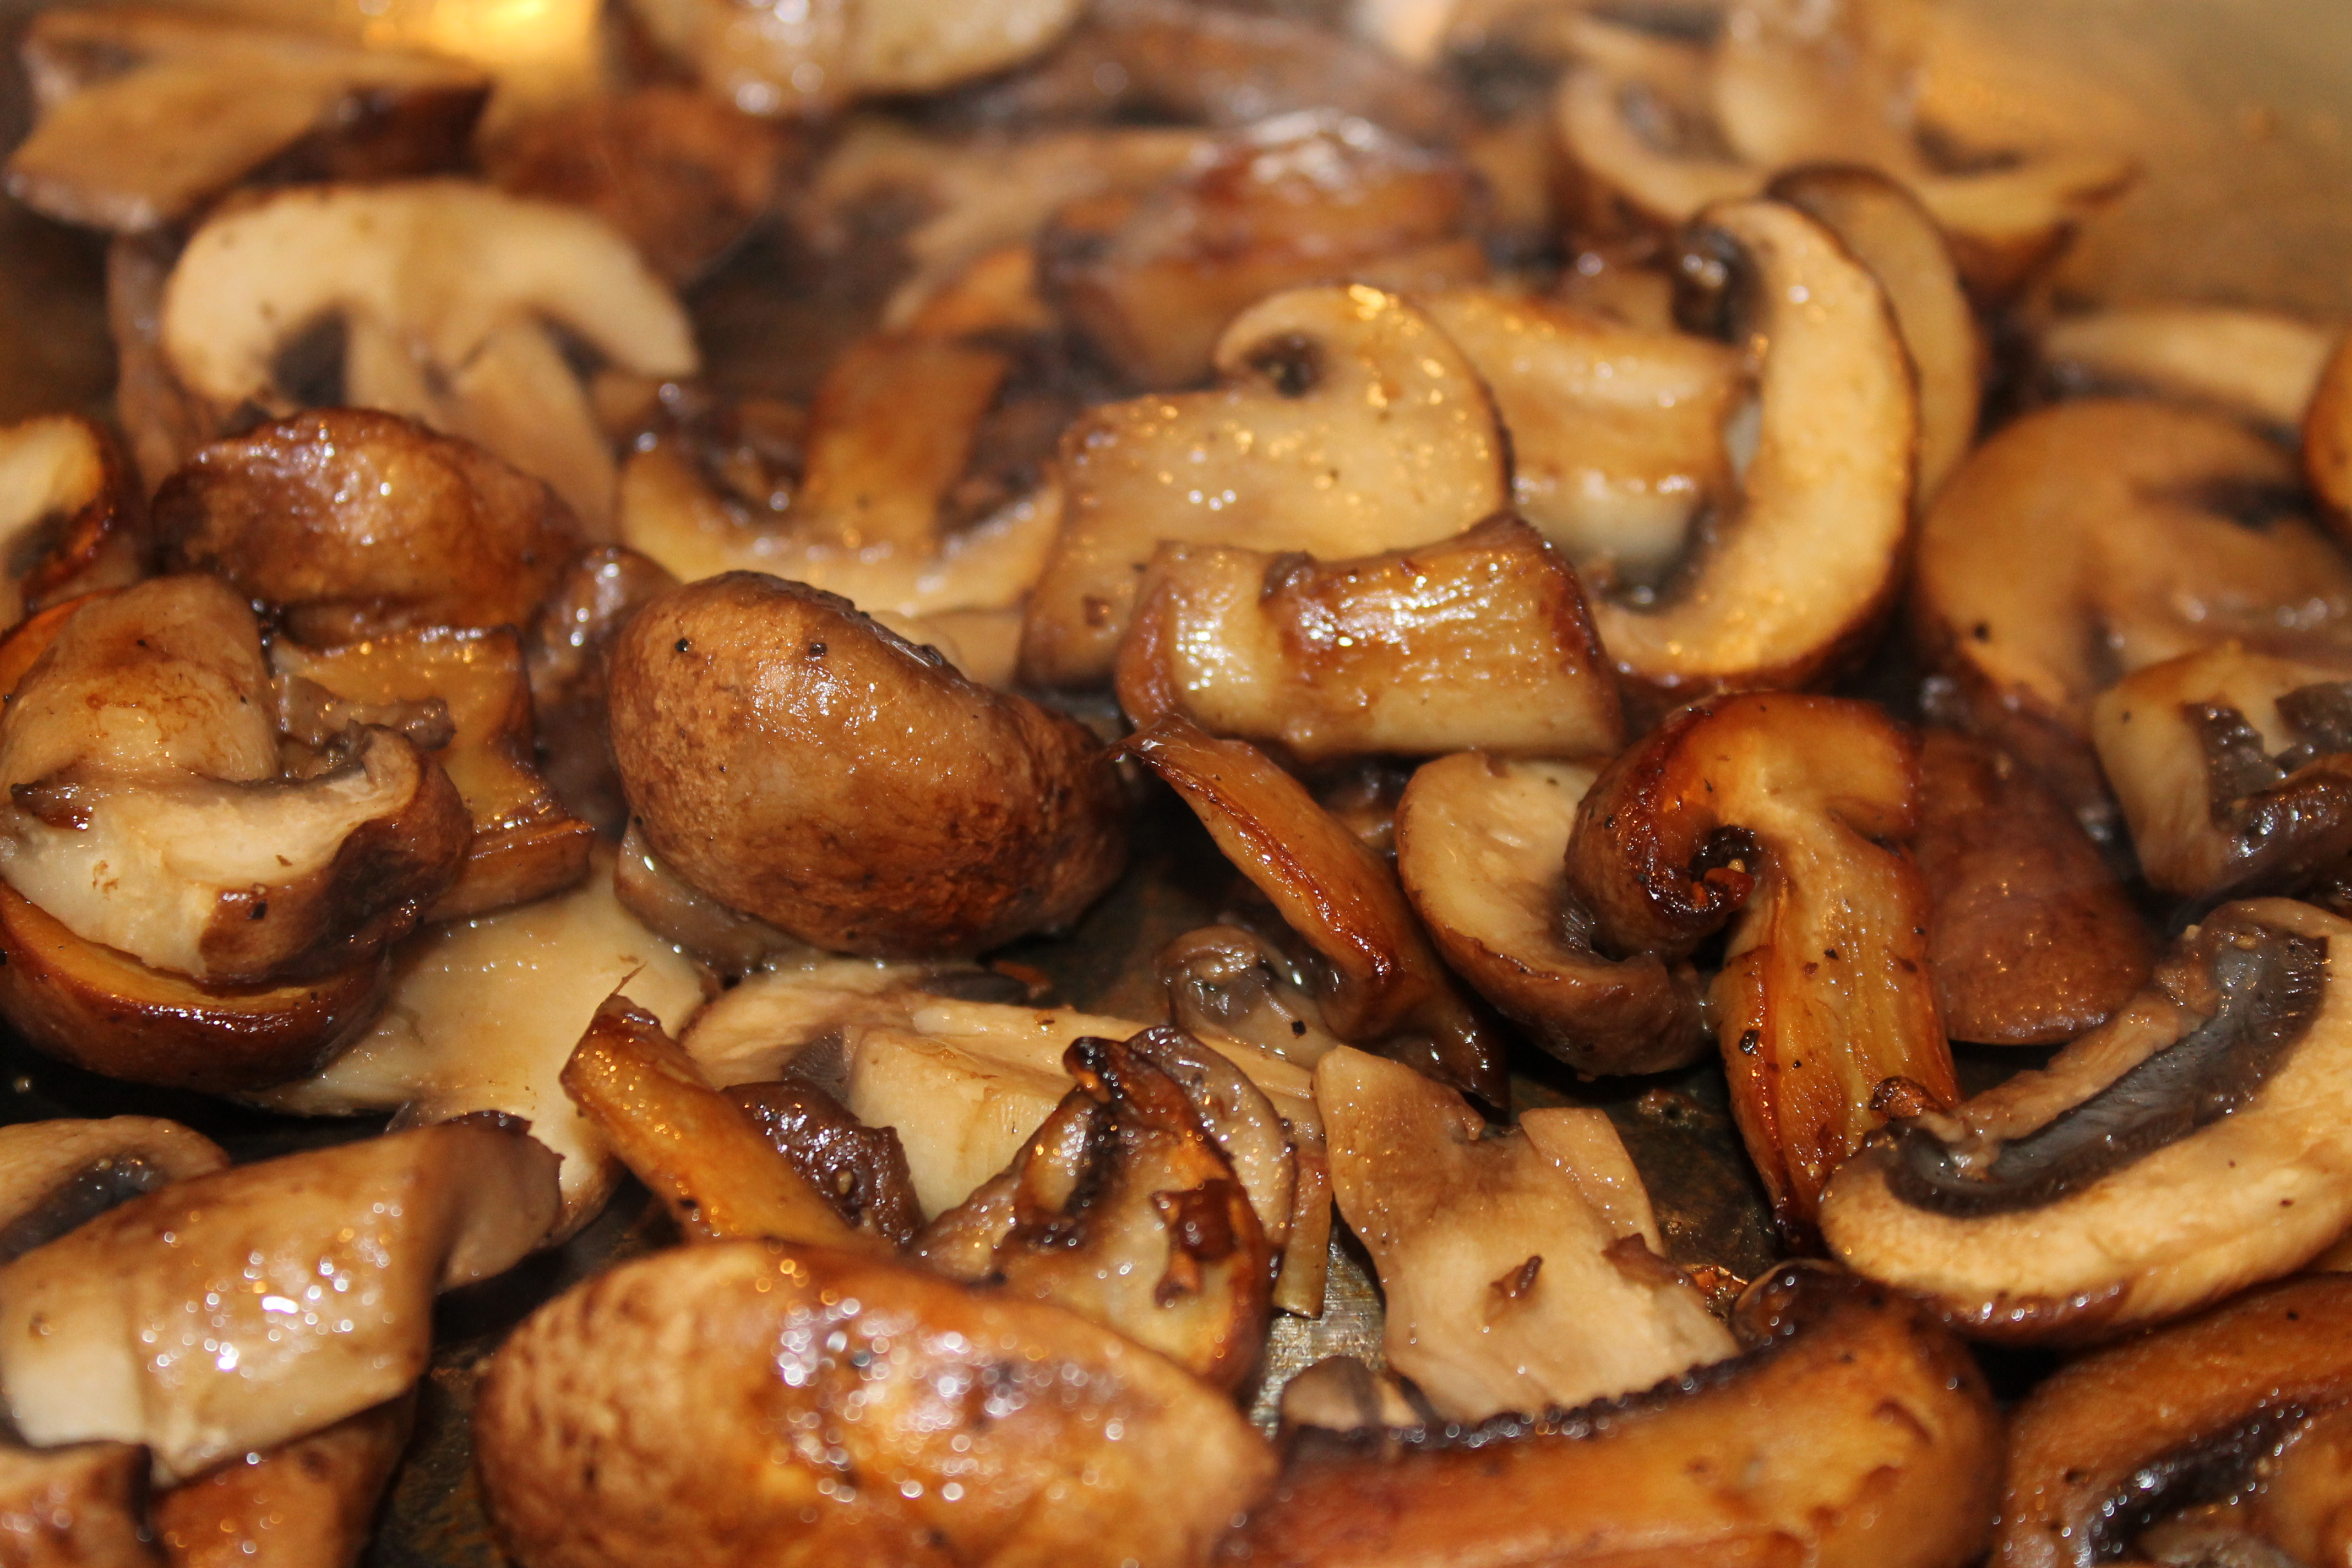
Mushrooms topping: - 8 oz baby Portobello mushrooms, sliced
- 1 tbsp. salted butter
- 1 tbsp. olive oil
Preparation:
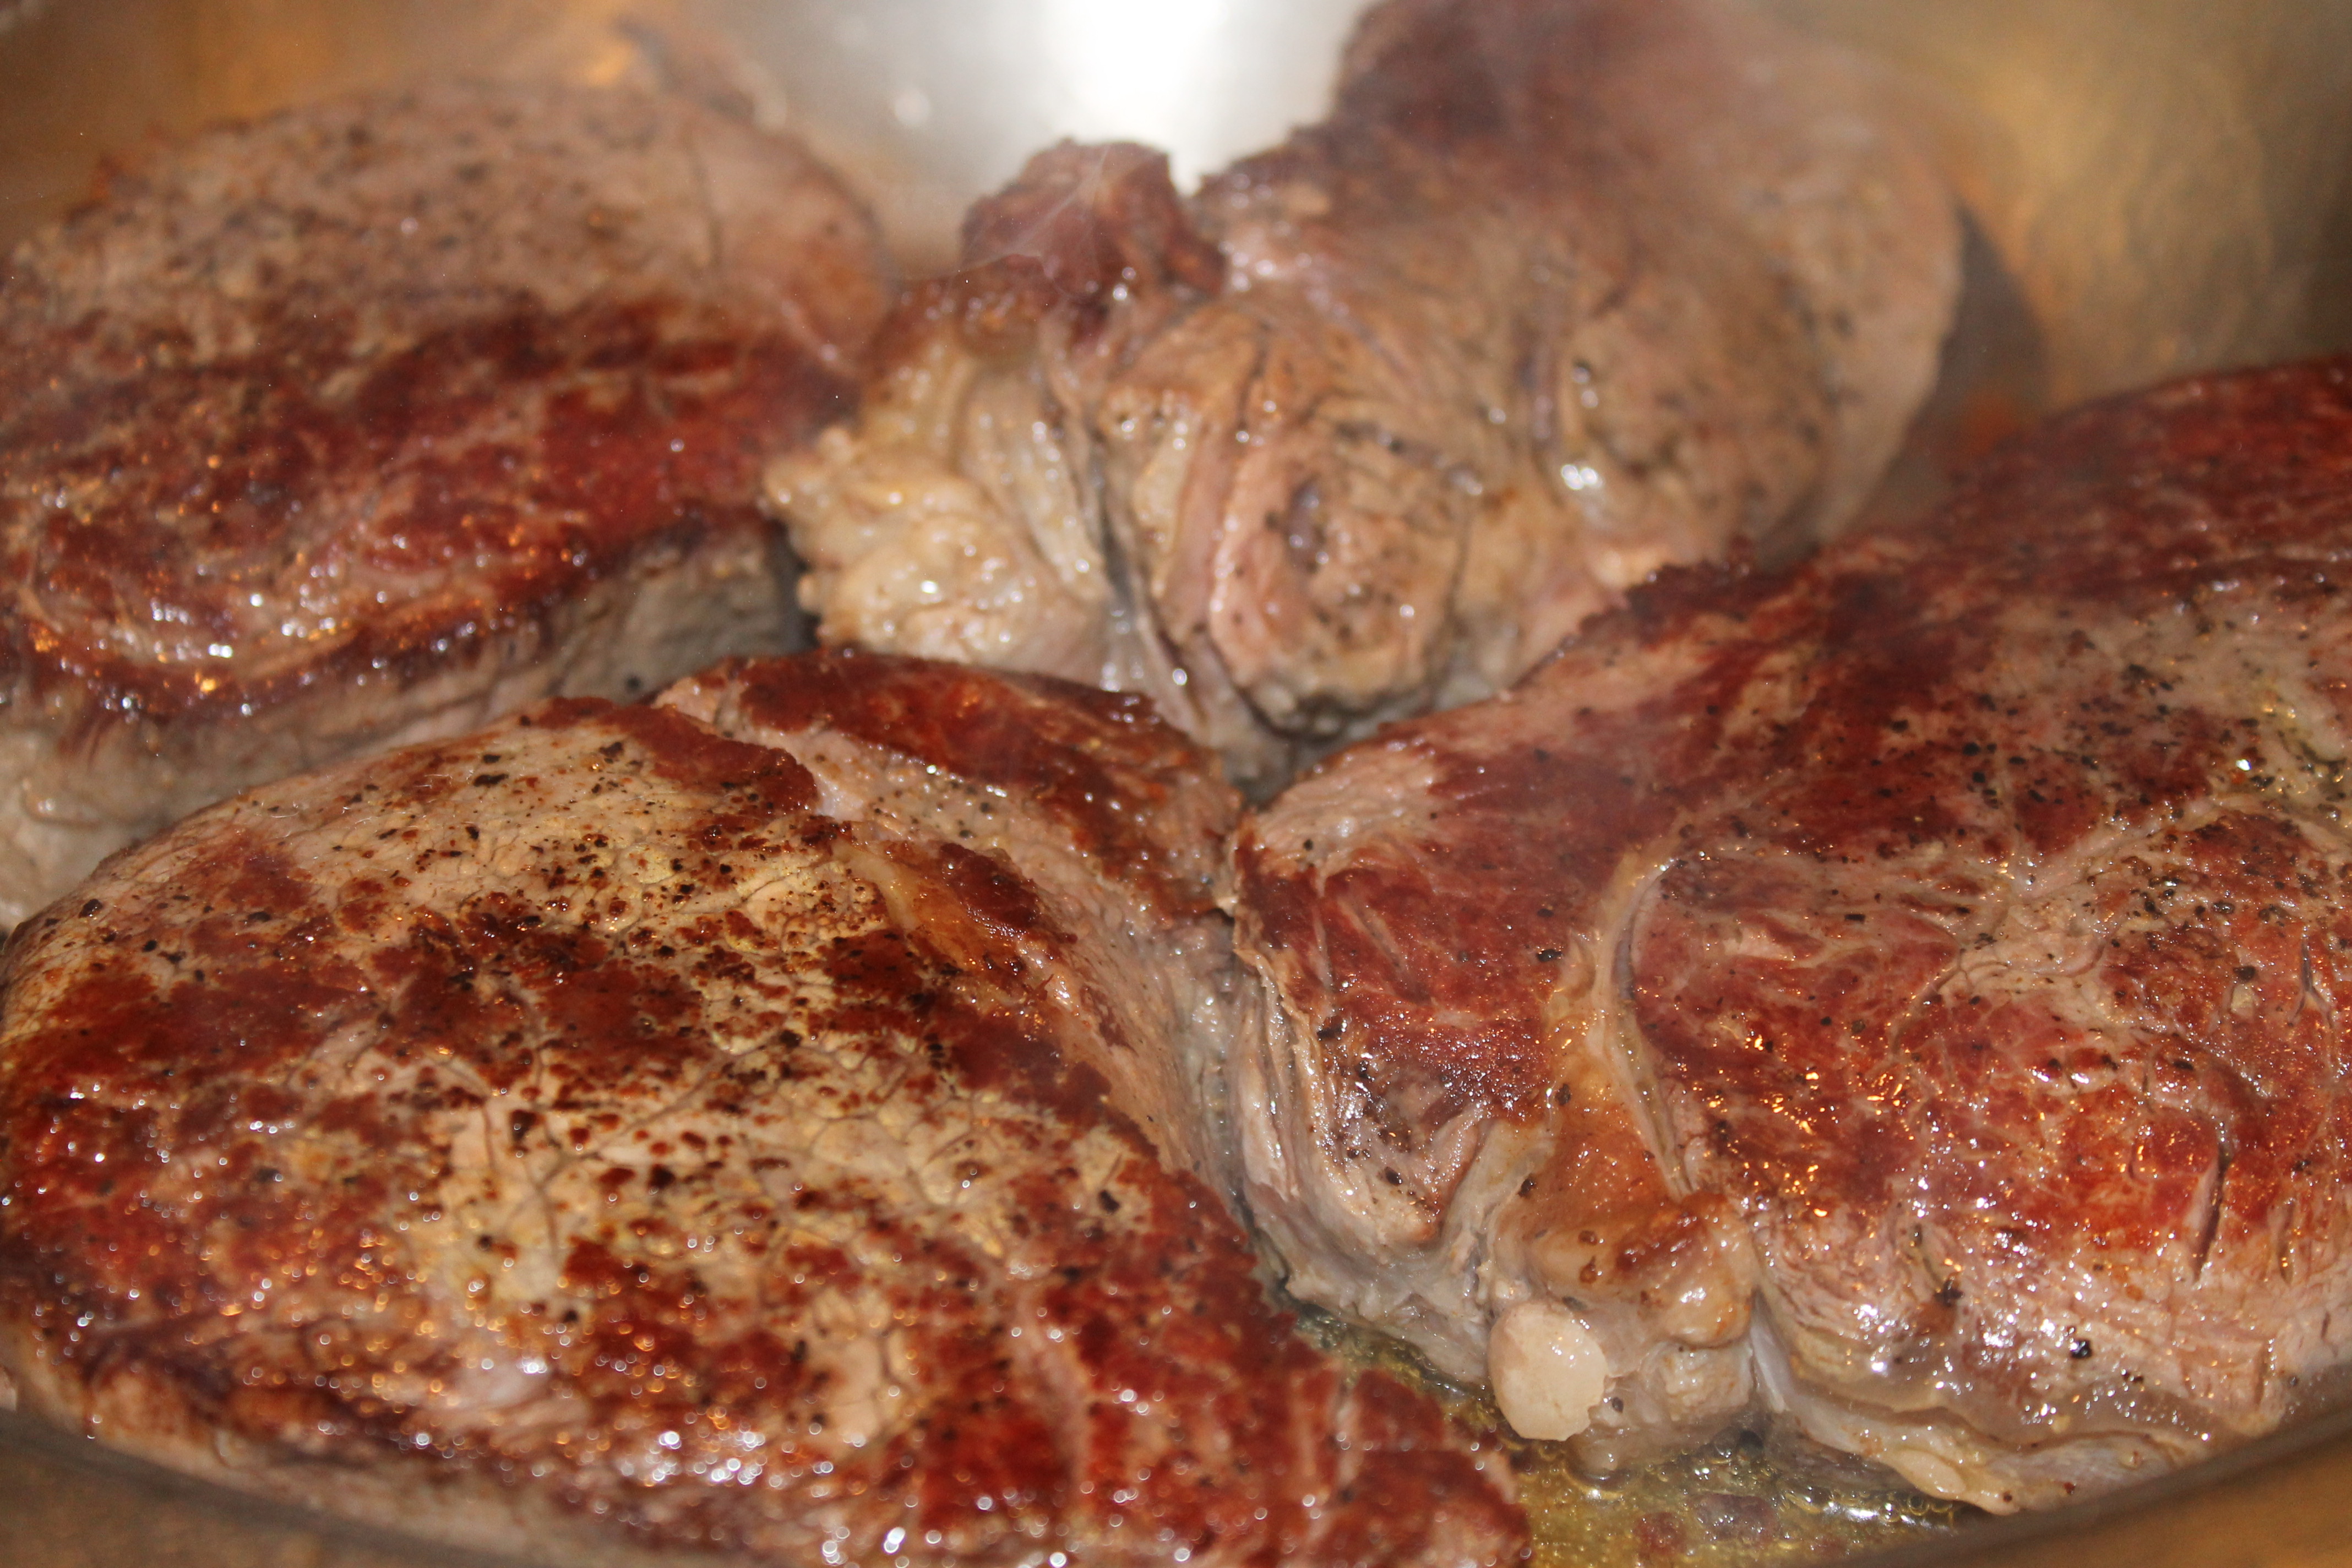
1) Season the ribs liberally with salt and pepper on both sides. Let it sit at room temperature for 20-30 minutes. ( I keep my house on 75 degrees F.)2) Pre-heat the oven at 350 degrees F.
3) In a very large and deep pan, over medium-high heat on the stove top, pour about 1/4 cup of olive oil. Sear the meat on both sides for about 3-4 minutes each side. Rotate the meat in the middle of the pan where the heat is, using a set of tongues.4) Place the garlic face-down randomly. Add tomato paste and stir it in all over the bottom of the pan. Cook until it obtains a rust color. Deglaze with the wine. Cook until it reduces 3-4 minutes.
5) Add the beef broth, and control the sodium if necessary. Bring to a quick boil. Turn stove top off. Cover with aluminum foil and place in the oven for 2.5 hours. Just forget about it, figuratively speaking. (please do not leave oven unattended)
6) In a small frying pan, over medium-high heat, melt the butter and the oil, and pan fry the mushrooms until they are golden brown. Set aside.
7) Prepare the polenta 20 minutes before the ribs are done. If you do it too soon, it will clump up. Follow cooking instructions on package. Keep on the lowest heat until you’re ready to serve.
8) Remove the ribs out of the oven and place them in a large platter. Take all the garlic out. Pass them through a sieve and put the garlic paste in the sauce. Stir well. Now it’s time to serve. Either buffet style or you can plate it, by placing some polenta on the bottom of a platter, put the ribs on top and garnish with the mushrooms and parsley.
Wine pairing suggestions: A bold Cab, Chianti or any red wine of your choice.It’s good to be back in the kitchen after a long absence.This blogpost is in Memory of My Beloved Dad, John. I will always remember him in the kitchen as my potato peeler, my pot scrubber and my right hand daddy’s little girl. I will miss savoring delicious pasta dishes with him, but his legacy will live in my heart forever.RIP DAD- 1936-2016
Disclosure:
This dish is an adaptation of Gordon Ramsey’s recipe on YouTube. These measurements are mine based on 8 lbs. of ribs.
Photographed by Gina Martino Zarcadoolas for FoodiewineloverHappy Braising!
Gina Martino Zarcadoolas
My Food, Wine & Travel Lifestyles


 No one wants to cook during the hot days of summer. For this reason, I like to create different salads and pair them with a protein. Today, I picked up a rotisserie chicken and some sourdough baguette to go with my delicious salad. It’s easy and takes less than 10 minutes to prepare. Recently, I started using a nice wooden bowl. I prepare the dressing right in it, and then, I toss the salad. This way, you avoid more cleaning and save time. Follow me in the kitchen and watch me whip a quick meal.


Recent comments