Appetizers

Gina’s Stuffed Mushrooms

One New Year’s Eve, I stayed home with my family and cooked like a mad woman. My stuffed mushrooms were a huge hit, and for this reason, I am happy to share my recipe with all of you.

Gina’s Stuffed Mushrooms:

Ingredients:

6 medium-sized Portobello mushrooms, with stems, chopped up
salt to taste for the mushrooms + 1/2 teaspoon for stuffing, optional
2 tablespoons extra-virgin olive oil
1/3 cup seasoned breadcrumbs
1/4 cup Pecorino Romano cheese, grated
/4 cup flat-leaf parsley, chopped + more for garnish
Pine nuts to taste
Olive oil cooking spray

Preparation:

Preheat oven to 375°F.

1. Season the mushrooms with salt. Combine the stems, salt, oil, breadcrumbs, Pecorino cheese, and parsley. Stuff the mushrooms. Top them with pine nuts.
2. Spray a flat tray with cooking spray and place the mushrooms.
3. Bake for 40 minutes uncovered.
4. Garnish with parsley.

Gina’s notes: wipe the mushrooms with a damp paper towel to clean them. This will avoid the mushrooms from retaining too much water. You can add thyme, marjoram or any kind of herb of your choice.
Wine pairing suggestions: Pinot Noir, Gavi, Sancerre, Chablis, Champagne or sparkling wines.

Stuffed Mushrooms before baking
Stuffed Mushrooms
Stuffed Mushrooms

Kindly let know if you will try this recipe. If you have any questions, please let me know via email.

I hope 2024 is off to a fabulous start!

Bon Appetit!

Gina Martino Zarcadoolas
Food & Wine Blogger, Sommelier Level 2
WSET Level 2 certified.
Cookbook Author: Cuisines, Corkscrews & Cultures
Italian Wine Scholar
Website: www.foodiewinelover.com
Email: gina@foodiewinelover.com

Olive Tapenade, Gina’s Style


Tapenade is a Provençal dip/spread that consists of olives, capers and sometimes anchovies. I love anchovies but I am not using it in this recipe.  You certainly can add them for more richness if you like them.  Beware of the high level of sodium in all the ingredients.  This mouthwatering spread is also found in Italian cuisine.

“Olive-based tapenades with anchovies and/or vinegar are ubiquitous in Italian cuisine and are documented in ancient Roman cookbooks dating back thousands of years before the appearance of the Occitan word tapenade

Follow me in my kitchen and let ‘s have fun with this delicious spread.

Serves 6-8 as an appetizer – Level of difficulty: Easy

Ingredients:

  • 1 cup Kalamata olives, pitted and rinsed
  • 1 cup green olives, pitted (Sicilians are the best) *
  • 1 Tbsp. chopped flat-leave Italian parsley + more for garnish
  • 4 Tbsp. extra-virgin olive oil + more to drizzle
  • Half of a lemon, juiced
  • 1 tbsp. capers, rinsed
  • 2 garlic cloves, rough chopped
  • Roasted red bell peppers for garnish, fresh or jar ones
  • 1 loaf of crusty bread, sliced or crackers*Preparation:
    1) Place Kalamata and green olives, parsley, oil, lemon, capers and garlic in a food processor. Pulse 25 times by stopping each time until you obtain a chunky but moist consistency, showing small bits of olives and other ingredients.
    2) Place in a serving bowl and chill. (Optional)
    3) Spread on delicious crusty bread or crackers. Drizzle with olive oil.
    Garnish with parsley and roasted peppers. This spread makes a dazzling appetizer and can be made ahead of time. Cook’s notes: I used Spanish olives, and they worked nicely.
    I don’t recommend that you add any salt to this spread, even if you’re not on a sodium-restricted diet. You can toast the bread to add that extra touch.  The choice is yours. Wine Pairing Suggestions: A lovely chilled white, such as Sauvignon Blanc, or any white or red varieties of your choice. Make sure, the acidity level is low to medium. This way, it will not take away the sharpness nor compete with the saltiness of the dish.  It’s ok, if you don’t consume alcohol, either way, you will enjoy this luscious appetizer. I hope you will try this recipe and share your thoughts with me.

    Happy Cooking from My Kitchen to Yours,

    Gina Martino Zarcadoolas aka Foodiewinelover
    My Food, Wine & Travel Lifestyles
    WSET-Level 2 Certified Wine Connoisseur
    Cookbook Author: Cuisines, Corkscrews & Cultures


Gina’s Eggplant Caponata


Eggplant Caponata

Eggplant Caponata

Eggplant, also known as aubergine is probably my all-time favorite veggie. It’s so versatile and is used in many cuisines throughout the world. Today, I am sharing with you my eggplant caponata that I have been making for many years. I have tweaked it a little, to reflect the ingredients in the traditional version. It originated in Sicily and there are a few recipe variations. Traditionally it’s served with hard boiled eggs and crusty bread. Ideally, I recommend using green Sicilian olives, but to stay within budget, I use pimiento-stuffed Spanish olives. This recipe can be doubled for a larger crowd.

Serves: 2-4 as a side dish or 4-6 as an appetizer – Level of difficulty: Easy – Prepping time: 5 minutes  Cooking time: 15-20 minutes.

Ingredients:

  • 1 medium eggplant, cut-up in cubes*
  • 1 – 1.25 tsp. sea salt
  • Freshly ground black pepper to taste
  • 1/4 cup extra-virgin olive oil + more to drizzle
  • 1/4 cup onions chopped
  • 1/4 cup celery, chopped
  • 1 tbsp. tomato paste
  • 1/4 cup tomatoes, chopped *
  • 1/4 cup Pimiento-stuffed Spanish olives, drained
  • 1 tbsp. capers, rinsed
  • 2 tsp. red wine vinegar
  • 1-2 pinches of sugar (dissolved in vinegar)
  • pine nuts, optional
  • basil, cut into chiffonade for garnish

    Preparation:

    1) Season the eggplant with salt and pepper.
    2) In a large non-stick skillet over medium-high heat, heat olive oil, sautee onions and celery for about 2-3 minutes. Stir occasionally.
    3) Add eggplant, it will absorb the oil, it’s ok, just keep stirring to avoid burning for 2 minutes or so.
    4) Add tomato paste, brown until it caramelizes, another 2 minutes. Keep stirring.  Add tomatoes, olives, capers, vinegar/sugar, pine nuts.
    5) Lower the flame to medium and cover with a lid. Let it simmer for about 10-15 minutes. Stir occasionally. Remove.
    6) Serve in a bowl. Drizzle with olive oil, garnish with basil.

Wine pairing suggestion: A Nero d’Avola for red, or  Insolia for white wine lovers. Both grape varieties are indigenous to Sicily and would make a stunning pairing with the caponata.

Cook’s notes: 1) I used Pomi brand chopped tomatoes. If you want it to have more sauce, add more tomatoes.  You can certainly use fresh tomatoes. 2) Feel free to add more oil, if you need to. 3)  Buy the eggplant the day before or preferably the same day if possible to ensure freshness.

Buon Appetito!

Base recipe, method of cooking and photos
by Gina Martino Zarcadoolas for Foodiewinelover
My Food, Wine & Travel Lifestyles

Gina’s Luscious Tomato Bruschetta

img_3205

Luscious tomatoes

img_3207

Bruschetta is a classic Italian appetizer. It’s a commonly mispronounced Italian word. In America, many people say bru’shetta, but in Italian, it’s pronounced: bru’sketta. How ever you pronounce it, it’s an easy and enticing appetizer. Your guests will enjoy every bite of its lusciousness. I suggest that you have two loaves of bread on hand, in case you burn the first batch. It’s happened to me a couple of times, but luckily, my guests never found out. It’s important that you are glued in front of the oven, because that one extra minute will create an unappealing presentation and an unpleasant taste. Follow me, and let’s have some fun in the kitchen.

Degree of difficulty: Easy –  Serves: 8-10 as an appetizer

Ingredients:

-2 lbs. of grape tomatoes, cut-up
-1/4 tsp. of sea salt
-Freshly ground black pepper, optional
-1 tbsp. flat-leave Italian parsley, chopped
-1 tbsp. basil leaves, chopped
-1-2 garlic cloves, minced
-1 tbsp. red wine vinegar
-3 tbsp. extra-virgin olive oil (+ more to drizzle)
-2 loaves of bread, sliced diagonally
-Parmegiano Reggiano, parmesan cheese for grating

Preparation: 

1) In a medium-sized ceramic or glass bowl, mix tomatoes, salt, black pepper, parsley, basil, garlic, vinegar and oil together.
2) Refrigerate for a minimum of an hour before serving.
3) In a single layer on a flat tray, drizzle the bread with olive oil and broil for 2-3 minutes until it’s golden brown in color. Remove immediately.
4) Spoon the tomatoes on top of the toasted bread. Sprinkle with parmesan cheese. Serve at once. Voila! Repeat the process as needed.

Cook’s Notes:
1) Broil the bread, just before your guests arrive
2) Instead of adding garlic to the tomatoes, you can rub it on the bread before broiling it and then, toss it out. It is an Italian technique.
3) Do not use the top shelf of the broiler as it is too close to the burner.
4) Do not leave the oven unattended.
5) Use Italian or French baguette bread

I hope you will make this delightful appetizer. I suggest you practice broiling the bread a couple days before your event.  This way, by the time your guests arrive, you have mastered the technique.

Wine suggestions: Sparkling wine, Prosecco, Champagne or a lovely crisp white wine of your choice.

Wishing all of you a Happy, Healthy & Prosperous New Year full of bubblies!
Have fun and stay safe!

Gina/Foodiewinelover
My Food, Wine & Travel Lifestyles
WSET-Level 2 Certified Wine Connoisseur
Culinary Aficionado & Lover of Global Cuisines

Recipe: Foodiewinelover
Photos by Gina Martino Zarcadoolas for Foodiewinelover

Gina's Luscious Tomato Bruschetta

Baccala Mantecato, A Venetian Delicacy

img_2237 img_2236
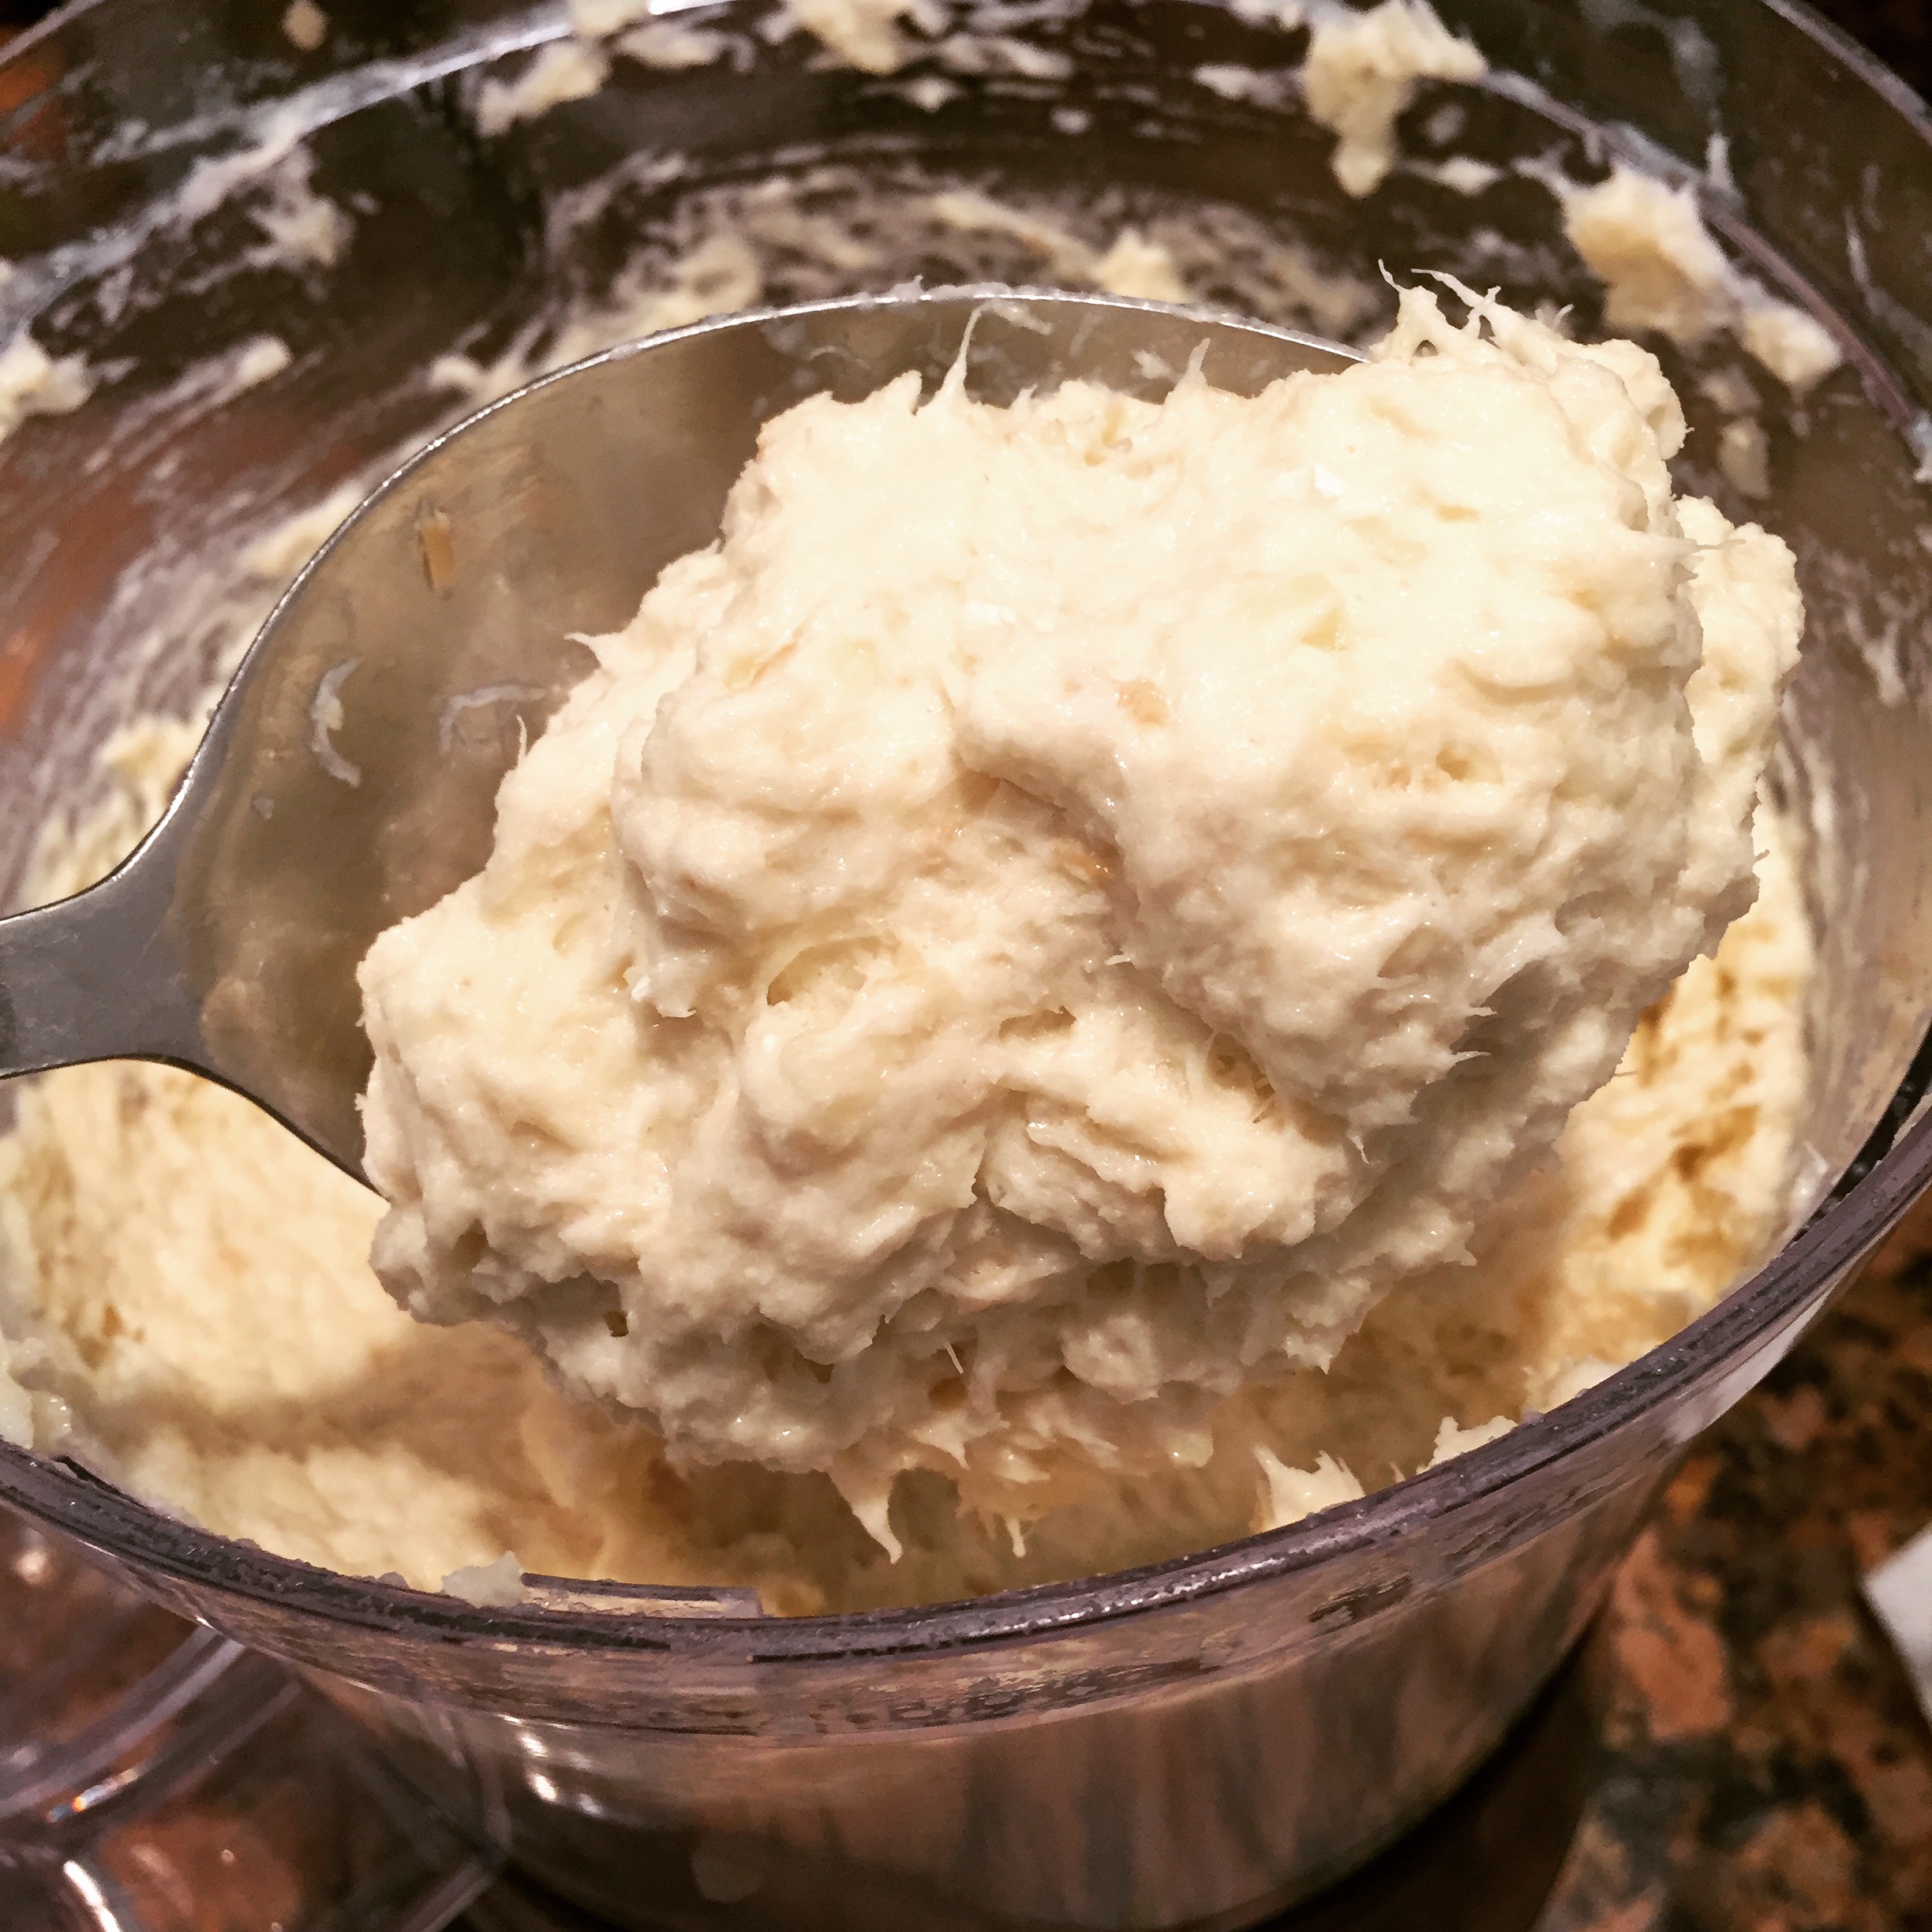
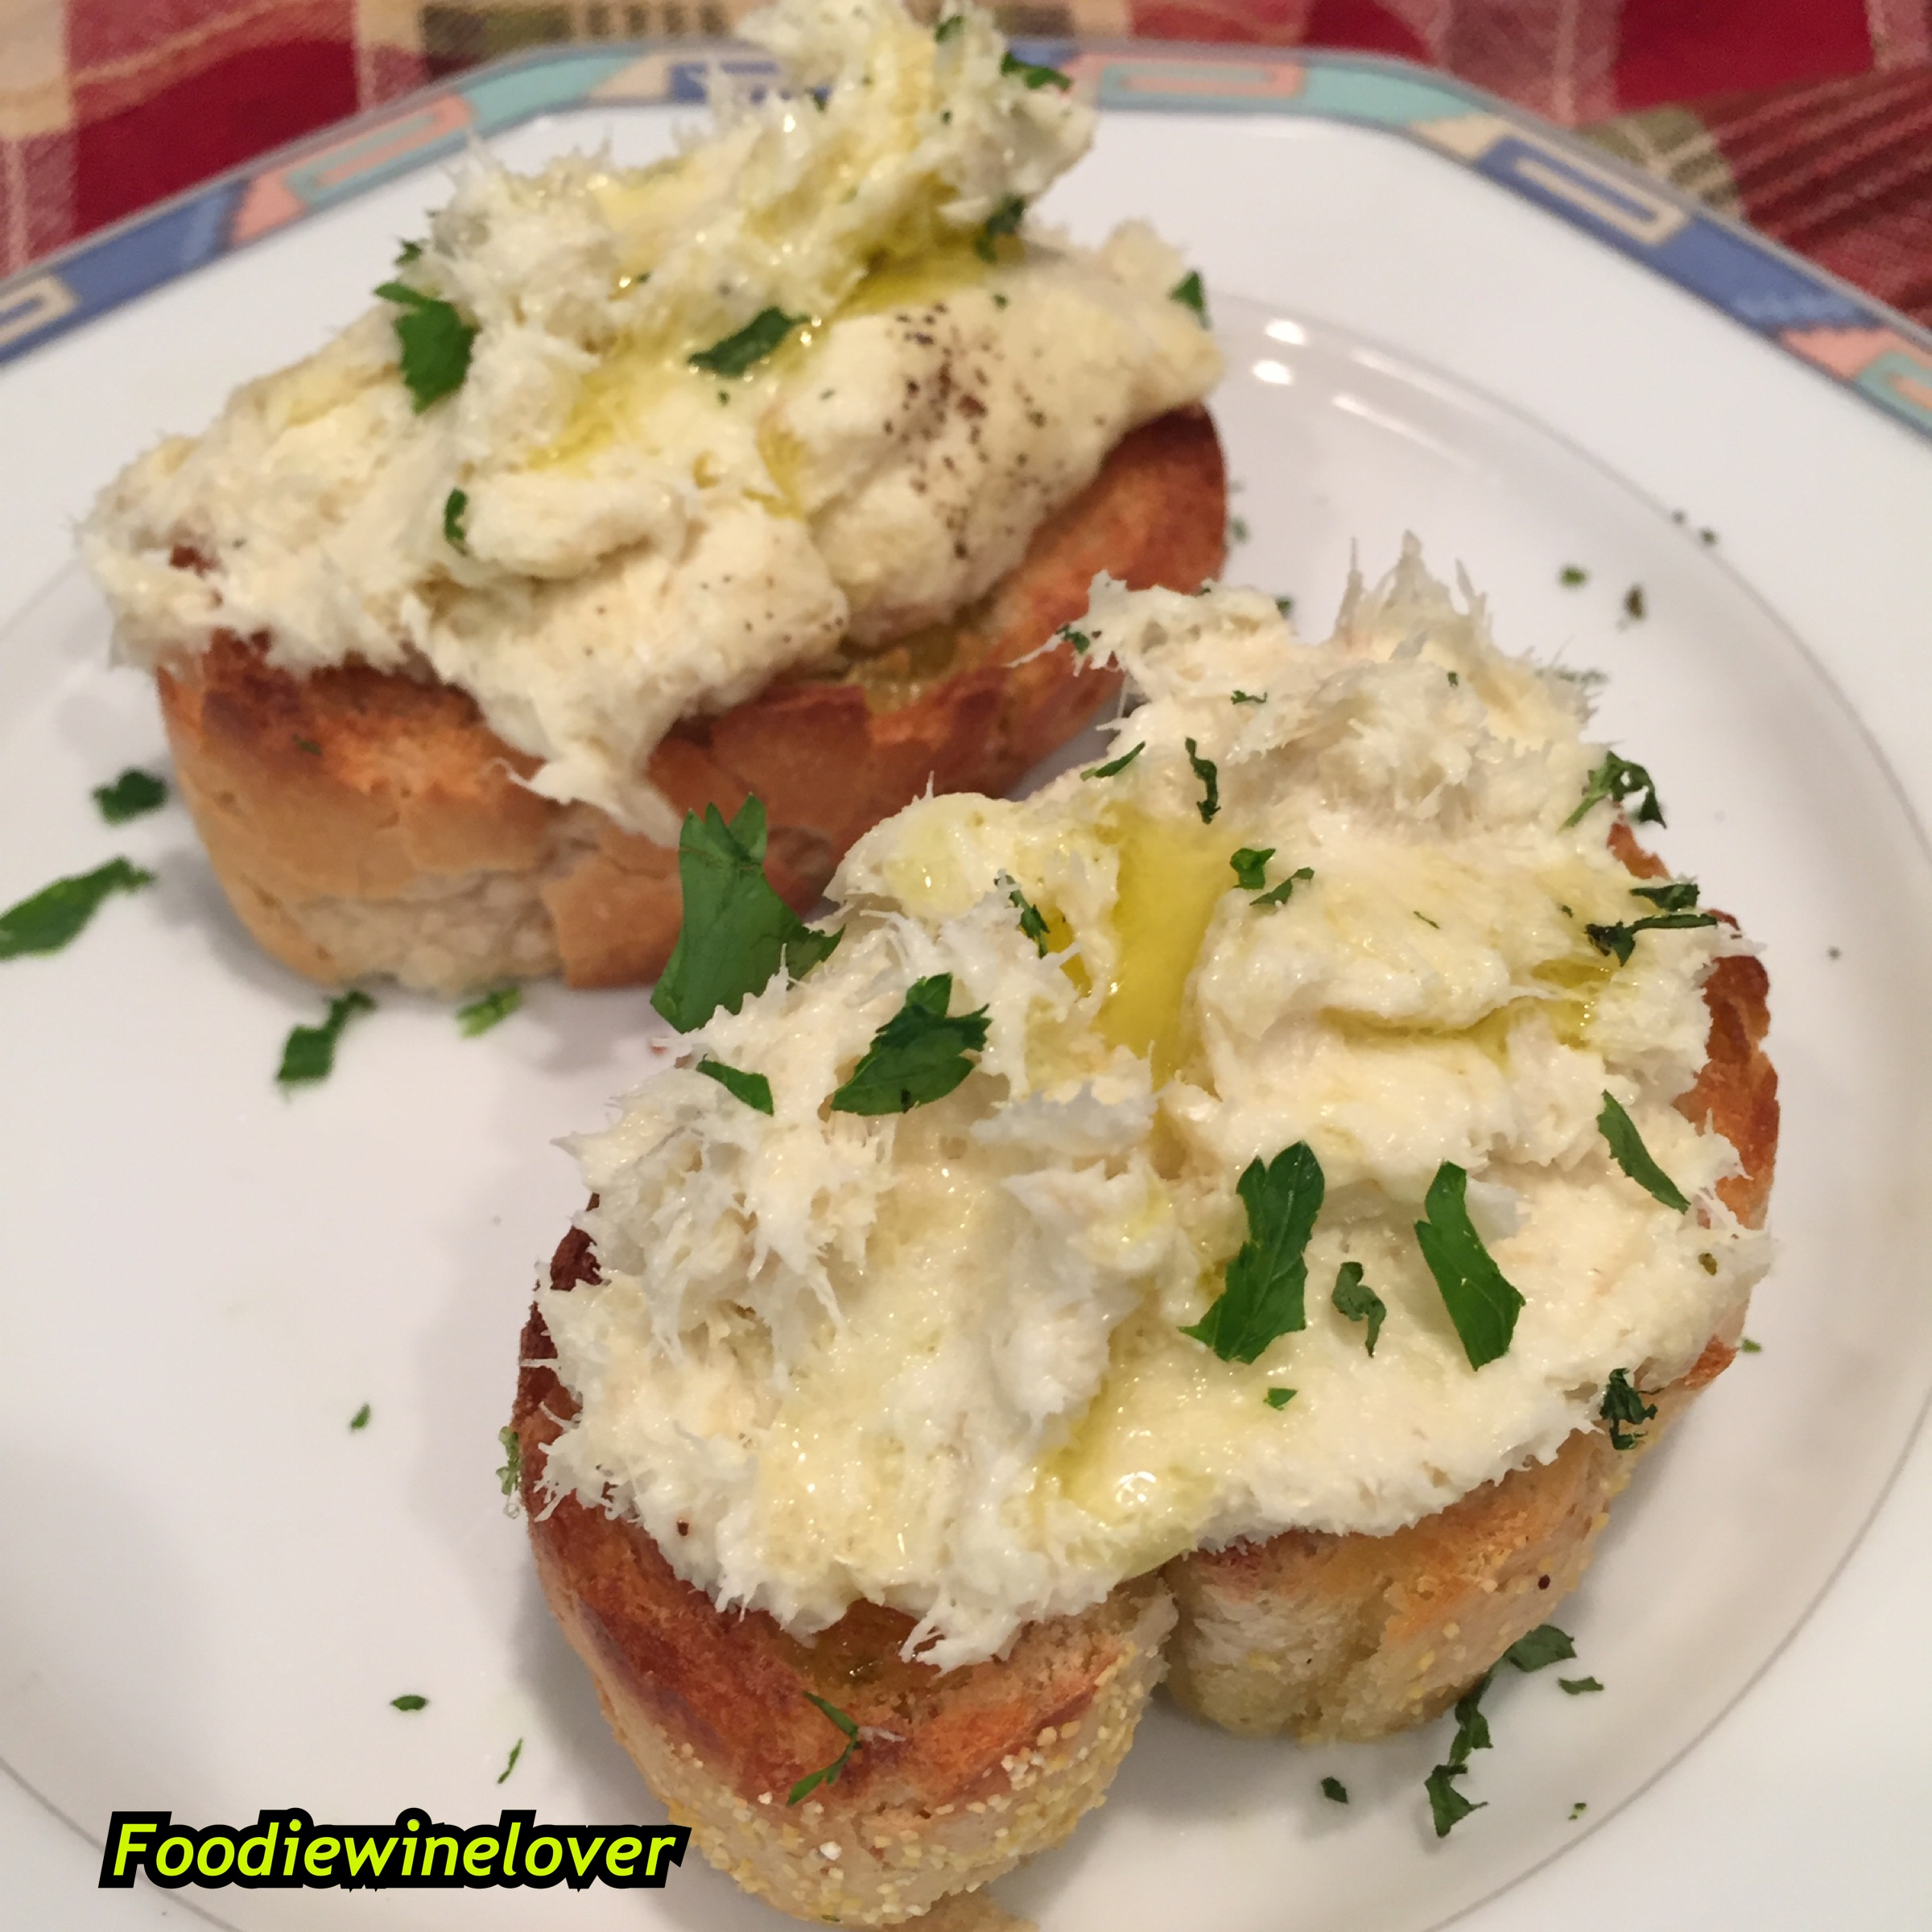
I first found out about this delicacy when I was visiting Venice in 2007 with my beautiful family. I was intrigued because I had never savored baccala that way before. Baccala is Italian for dried salted cod fish. It’s a delicious spread (dip) that originated in the region of Venice, Italy. It’s not that difficult to prepare but it can be a bit tricky. If you follow my instructions carefully, your spread will be a success just like mine. You will be using fillet (boned) code fish that’s cured in salt. It’s usually found in a plastic bag near the seafood department of your grocery store. I am certain, you can also find it in the outdoor markets without the plastic, depending what part of the world  you live in.  Fear not, it’s cured with lots of salt and it’s not easily perishable. If  you don’t properly prepare it, you will be left with a dish that is inedible due to the high sodium content. You will need a little less than two hours from start to finish to obtain the final results. Today, I am using a food processor and not my hands, which could be a daunting task. This is the perfect appetizer for an Italian-themed party, and pairs lusciously with Prosecco or any bubbly of your choice. I promise you, if your guests like seafood, they will be impressed with your culinary skills.

Serves: 8-10 as an appetizer –  Level of difficulty:  Medium

Ingredients:

  • 16 oz. Salted Cod Fish boned
  • Water to boil the cod fish and potatoes
  • 2 medium gold potatoes, peeled, cut up
  • 4 garlic cloves, rough chopped
  • 1/2 cup half & half
  • 1/2 cup extra-virgin olive oil, plus more to drizzle
  • Black pepper to taste
  • Parsley for garnish, optional
  • Garlic bread, crostini,  or polenta

    Preparation:
    1) Rinse the salt off the fish. Next, In a large plastic bowl, place the cod fish and cover it with fresh room temperature (tap)  water. Let it soak for about 45 minutes. Drain, rinse, and repeat the same process for another 45 minutes. (You will be adding fresh water and let it soak a second time)  for a total of at LEAST 90 minutes. Drain again.
    2)Place in a large saucepan, cover with fresh water and boil for 5-7 minutes until it becomes a little flaky.  There will be large chunks and it will not fall apart at that point.  Drain. Set aside.
    3) In the meanwhile, boil the potatoes until they are fork tender. *
    4) It’s time to put it all together. In a food processor, put the cod, potatoes, garlic, half and half and PULSE for about 40 – 60 seconds or so, until all the ingredients come together nicely. At that point, you should see some little chunks of fish, and the mixture will appear a little dry.
    5) Slowly, add the oil and run the food processor on HIGH until you obtain a mousse-like texture as in mashed potatoes. (about 30-60 seconds). Always, check your food to make sure you do not over process it. You will run the risk of changing the texture by liquefying it too much. The spread will look creamy, with flakes or little shreds of fish. It’s done. Look at my pictures!
    6) Spread it over bread,  drizzle with olive oil, and garnish with black pepper and parsley.  You can also serve it in a bowl, and let your guest dig in. Traditionally in Venice, it’s served over polenta. Either way, you eat it, it will be delectable and very enticing to the taste buds.
    I hope you have enjoyed this delicious and healthy recipe, and plan to make it soon. Let me hear about your experience. From what I gather, people are having a difficult time obtaining the right consistency. It may take some practice.
    Cook’s notes: * You can use the same pan you used for the cod to boil the potatoes to avoid a mess in the kitchen.
    Make sure the sauce pan is large enough, if not, the water will overflow and create a mess when cooking the fish.  I have a few tricks up my sleeves, having been in the kitchen for nearly 30 years. To make the bread, drizzle with olive oil, and a dab of butter. Broil for 1-2 minutes. Voila!

    codfish2016

    Salted Cod fish


img_2245

Baccala Mantecato – Exclusive pictures by Foodiewinelover

All photos are exclusively mine except for the small picture of the bag – I wanted to show you what it looks like. If it says boned, chunks, it will work also. It’s IMPORTANT that you used the fillet (without the bones) Keep in mind, there are probably different companies depending on where you live.
This recipe was created in my kitchen and I take full credit for the measurements and method of preparation.

I hope you will try this delicious spread and share your thoughts with me. I would love to hear your feedback. I may come back to add some personal photos from our trip to Venice. I need to publish this today, as my followers on social media are patiently waiting for the recipe.

Happy Cooking from My Kitchen to Yours,

Gina Martino Zarcadoolas – Foodiewinelover
My Food, Wine & Travel Lifestyles


Guacamole for Super Bowl 51

preppingguacamole
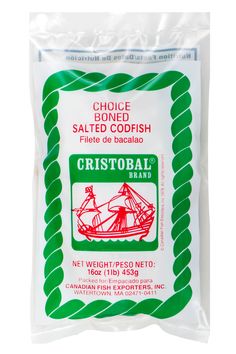
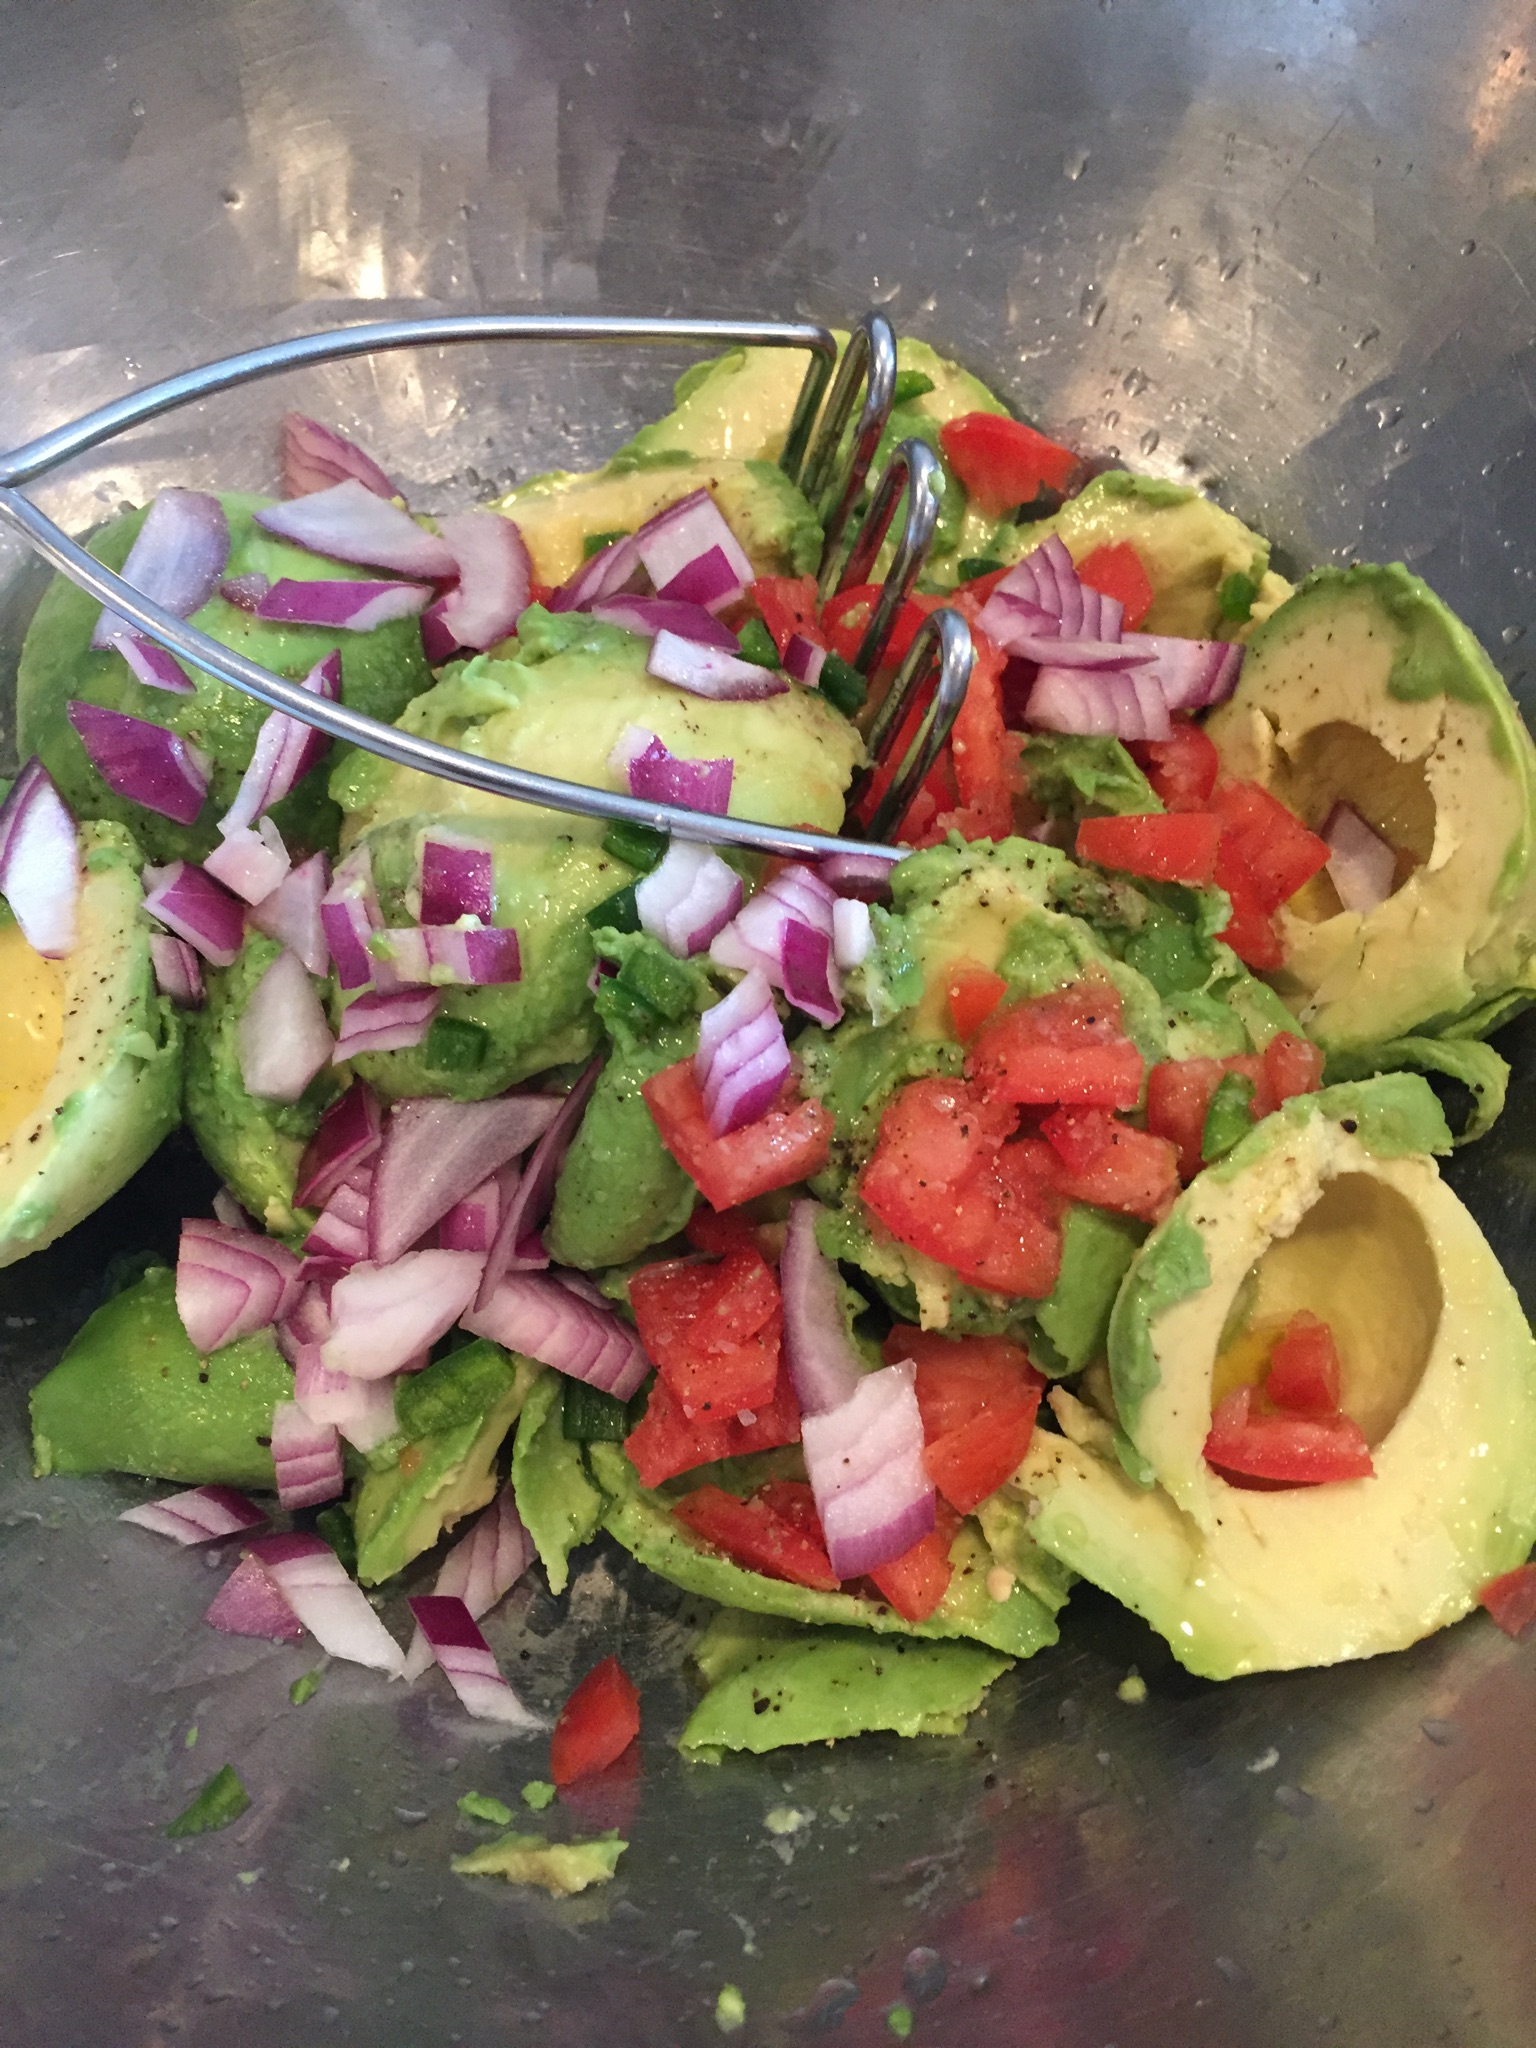
I wasn’t planning on making anything today, but I decided at the last-minute to share with you my simple and very delicious guacamole. It’s just in time for the Super Bowl, and it takes less than 15 minutes to prepare. Guacamole is a very popular dip made with avocados, and is a major crowd pleaser, especially on Game Day!
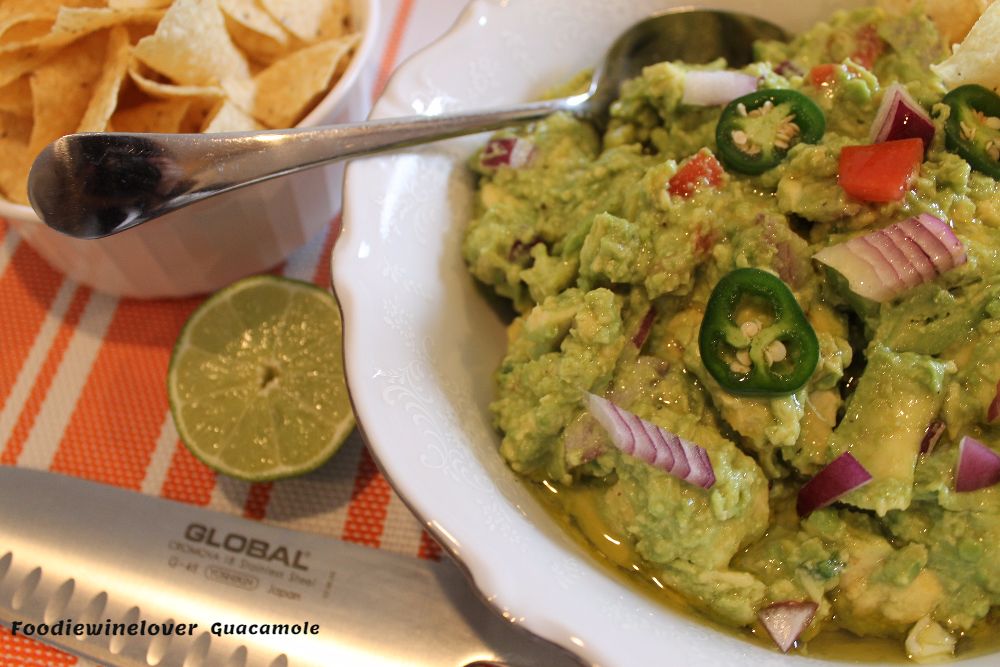
Servings: 6-10 as a dip with tortilla chips – served with other food
Level of difficulty: Super easy

Ingredients: 

  • 6 Hass avocados, peeled and scooped out of skin
  • 1-2 lime, juiced *
  • 1 plum tomato, seeded, diced
  • 1/4 cup of red onions, diced
  • 1/4 cup extra virgin olive oil, plus more to drizzle
  • 1 jalapeño, diced – optional – plus more for garnish
  • sea-salt to taste – don’t be afraid, it will need it *
  • freshly ground black pepper, to taste
  • 1 large bag of tortilla chipsPreparation:

1) In a large mixing bowl, add the avocados, lime juice, tomatoes, onions, oil, jalapeño, salt and pepper. Use an old-fashioned potato masher, and mash it about 20 – 25 times by hand. I use this method because I like my guacamole chunky, and this way, it stays nicely on the tortilla chip. Who wants a runny guac??

2) Place in a serving bowl and chill for at least 30 minutes to one hour. When ready to serve,  taste for flavors, add more salt, and lime if necessary.  Give it a good stir. Drizzle with olive oil. Garnish with jalapeño. Serve with the tortilla chips.

Your guests will be dancing salsa while watching the game.

Cook’s Tips:

1) Use the small avocados because they taste better. Always have extra ones because you never know if one will be rotten on the inside.

2) Always check for acidity, the amount of lime you will use, will depend on how juicy they are.

3) Unless, you are on a sodium-restricted diet, you will need to use salt to bring the flavors together.

4) As you can see, I avoid using strong spices because I want to taste the avocados…

Happy Super Bowl Sunday! Enjoy!!!!

Gina Martino Zarcadoolas
My Food, Wine & Travel Lifestyles

Guacamole

Guacamole by Foodiewinelover

Keftedes, Greek Meatballs

Keftedes

Making Keftedes, Greek Meatballs

Keftedes, Greek Meatballs

Keftedes

Keftedes

Keftedes, Greek Meatballs

I married a Big Fat Greek Family, and we all love to eat Greek food.  Hubby’s Aunt Jennie is an excellent cook, and used to own a restaurant. She also loves to entertain family and friends. I learned a few things from her, about Greek Cuisine.  She makes the best Keftedes, leg of lamb, Pastichio, Moussaka, Spanakopita, and a very scrumptious Baklava. She always tells me her meatballs include 10 ingredients, but I never write them down. So I am going by memory here. I can easily call her, but this dish came out so delicious. As the saying goes, if it ain’t broken don’t fix it. I use a little breadcrumbs in this recipe, but I noticed some recipes call for some white bread.

Serves: 6-8  Level of difficulty: Medium
Yield: 24 meatballs more or less depending on how big you make them. You can use an ice cream scooper to make them evenly.

Ingredients:  

  • 2.5 ground sirloin
  • 1 medium onion, diced
  • 6 garlic cloves, minced
  • 1/2 ounce of fresh mint leaves, chopped
  • 1 large handful of flat-leave parsley, chopped
  • 1 tsp. dried oregano, or 2-3 sprigs of fresh ones, chopped
  • 1/2 cup seasoned breadcrumbs
  • 2 eggs
  • Salt & Pepper to taste
  • Olive oil for fryingPreparation:

    1) Prep the first 10 ingredients, and place in a large bowl. Mix well and form the meatballs.  I always taste test one first, by pan frying it, this way, I can add more seasoning, if necessary.

2) You will work in batches. In a large skillet, cover the bottom
with olive oil and heat it over medium-high heat.  Always make
sure, oil is hot before pan frying, otherwise, you will end up with
soggy meatballs.  Place meatballs in a single layer, and pan fry for about 6-7 minutes on one side, then flip them and fry an additional 6-7  minutes on the other side.  You may have to lower the flame to medium-heat at that point, otherwise, if it’s too high, they will get very dark. Do not overcook them as they will dry up. This may take some practice. You can also bake them for a healthier version.

3) Remove, and arrange them on a plate. Garnish with some mint leaves.   Serve it with some Tzatziki Sauce on the side. The meatballs  can be served as a Meze, an appetizer, or serve it with a Greek Salad for a full meal.

I can assure you, you and your family will enjoy this Greek deliciousness.

Get cooking, and let me know how they come out!

Kali Orexi

Disclosure: I do not get paid to mention the Fage brand, I happen to like their Greek Yogurt. Please make sure meat is fully cooked to avoid the risk of food-born illnesses.

Gambas al Ajillo, Spanish-Style Garlic Shrimp

Spanish-Style Garlic Shrimp

Gambas al  Ajillo, Spanish-Style Shrimp are very common in Spain. They are packed with flavors and easy to prepare.  If you love to entertain, your guests will love these delicious tapas. (appetizers)

Serves: 4
Level of difficulty: Super easy

There are many recipe variations on the internet, but this is my method and style of cooking.

Ingredients:

  •  1 lb. extra-large shrimp, peeled and deveined (yield 16-20)
  •  3/4 cup olive oil
  •  1 head of garlic, chopped
  •  2 -3 dried chiles
  •  Flat-leave parsley for garnish, optional
  • Sea salt, optional

    Preparation: 

1) In a large skillet, heat olive oil over medium to medium-high heat. Add the chiles, let them release their flavor in the oil for about  for 1-2 minutes. (Keep them in the pan)

2) Add the shrimp in a single layer. Sautee for about 3 minutes, then add garlic.

3) Flip the shrimp, cook an additional 2-3 minutes, until the shrimp are no longer translucent.

Voila, it’s that simple! I usually garnish with parsley but I was entertaining at the last-minute, and didn’t have the time to do it.

Spanish Style Garlic Shrimp

Wine pairing suggestions:  Albariño, a wonderful spanish white wine. It is also produced in Portugal.

Tip)  If you are cooking for a crowd, I suggest that you make them in batches.

Buen Provecho!
Bon Appetit and Cheers from My Kitchen!

Gina

Mango Salsa

Mango

Mango Salsa

Mango Salsa

Mangos are cultivated throughout various regions of the world.  There are many varieties that are used in chutneys, salsas, or simply eaten raw.  They are a delicious and versatile fruit, and very refreshing in the summertime. In several cultures, its fruit and leaves are ritually used as floral decorations at public celebrations, and religious ceremonies. Recently, I participated in an event on Facebook, that required the use of mangos, as an ingredient. Of course, I had to get involved, and decided to make a quick and easy salsa. This dish can be eaten by itself, with tortillas, or over white fish. I have used it on cod-fish, and it came out delicious.

Ingredients:

Mango Salsa

  • 1 ripe mango, diced
  • 1/4 red bell pepper, diced
  • Jalapeño, chopped to taste (optional)
  • 1 handful of cilantro, chopped
  • Himalayan salt and freshly ground pepper, to taste
  • Sprinkles of turmeric
  • Juice of one lime
  • drizzle of extra virgin olive oil 

    Preparation:

Combined all the ingredients and chill in the fridge for at least an hour.

Bon Appetit!

Baba Ganouj, Eggplant Dip

Eggplant

Eggplant

You say Baba Ganoush, Baba Ghanoush, Baba Ganouch, I say Baba Ganouj or Baba Ghanouj.  In my opinion, they all may be right depending on what region of the world you’re from. Baba Ganouj is a typical Middle Eastern dip made with eggplant. I learned how to make it from my Arabic Mom. If you love eggplant like I do, you will enjoy this recipe. It’s simple, healthy and yummy. Ideally, it is better to char the eggplant on an open flame for more intense flavors, however, today I will share with you the roasted version, and a quick story to go with it. Many years ago, (when I was in my twenties) I was roasting an eggplant, then, I heard a loud explosion. I looked in the oven, and the eggplant had splattered all over the oven. I realized, I needed to pierce some holes in the eggplant to let the air out. Who knew? LOL! It was scary and funny at the same time. I learned my lesson since that experience.

Serves: 4-6 as an appetizer

Level of difficulty: Easy – Medium

Ingredients:

  •  1 large eggplant, roasted
  •  1 lemon, juiced
  •  2 -3 garlic cloves, chopped
  •  1 handful of flat leave parsley, chopped
  •  Salt and Pepper to taste
  •  Extra Virgin Olive Oil, generous amount + more to drizzle
  •  2 tbsp. Tahini (Sesame paste) found in some grocery or specialty stores. Highly recommended

Preparation:

1) IMPORTANT! Pierce holes in the eggplant with a fork or knife, to avoid it from exploding in your oven. Drizzle some oil on a tray, and roast the eggplant in a 400 degree oven for about 30-40 minutes, or until soft on the inside.

2) Remove from the oven, scoop out the eggplant pulp with a spoon, leaving the skin.  Put it in a medium-sized bowl,  and use a masher to break it down until the desired texture. I don’t like it too creamy, but that’s a personal preference. Add lemon, garlic, parsley, salt, pepper and Tahini. Mix well. Drizzle with a generous amount of olive oil, and serve with Pita chips.

Tip #1) When choosing eggplant, make sure they are firm, with no bruises. After you buy them, I recommend that you use them within a couple of days. I can’t begin to tell you how many times, I had to throw eggplant away, because they got buried in the vegetable bin section of the fridge. You will notice the brown spots all over. Some eggplants can be bitter, luckily for me, that was never an issue. I hear some people are allergic to eggplant, please be aware of that.

Tips #2) If you buy the Tahini in a jar, after sitting for a while, you will notice the oil will surface to the top, make sure you stir it well before using it.

Happy New Month! Bon Appetit from My Kitchen to Yours,

Gina